 Auto
Auto
 Camion
 Autobus
 Motociclette
 Militare
 Elettronica
 Armi
Armi
 Edifici
 Aerei
Aerei
 Arredamento
 Personaggi
 Animali
 Veicolo spaziale
 Cibo
Cibo
 Nave
Nave
Tutti
Hello everybody! We continue sharing with you the experience of creating 3D models that you can see in our store and today we’d like to talk about the refinements and even tell you the secrets of mobile phones modeling. Despite the apparent simplicity there are some pitfalls and interesting moments.
By the way, we can proudly say that as of today our store has the most complete collection of mobile phones 3D models. Therefore, we are happy to demonstrate you the latest models and many years of accumulated experience – from push-button phones to Google Glass and new tablets. Well, let’s get it started.
The first principle isn’t that obvious on the face of it: all mobile phones differ among themselves. And these differences are quite significant. That means that copy-paste here won’t work at all – it is required an individual approach to each phone. Thus, if a manufacturer produces a Core model:
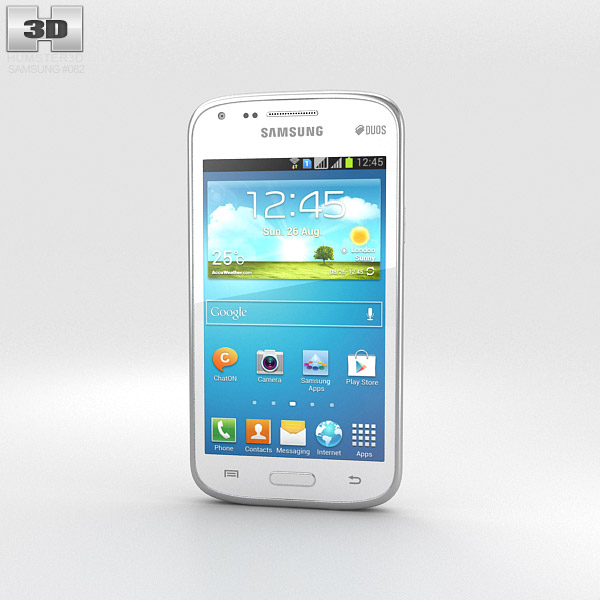
and Core Advance:
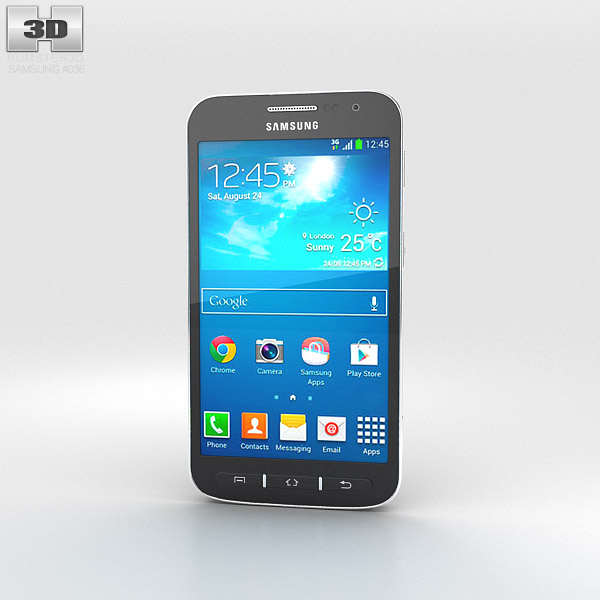
these models differ by overall size. You may think: “I’ll drag the edges and it’s in the bag!” But, believe me: modification of a model often takes as much time as creation of a new one and even more. Thus, corner radius was changed and now we need to modify chrome body and back cover, where emerge tightening and riffles, and so on, and so forth. Therefore, to create a high-quality model, even just of a different color or with some minor modifications, you need a lot of time.
On average, the creation of a mobile phone 3D model takes more than one working day. Some special models need two days of work and even more. For example, Samsung Galaxy K Zoom with sliding objective because it should be made in both positions:
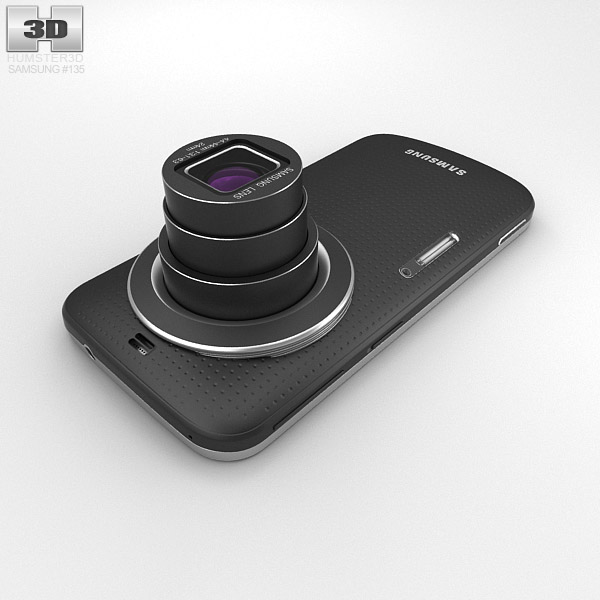
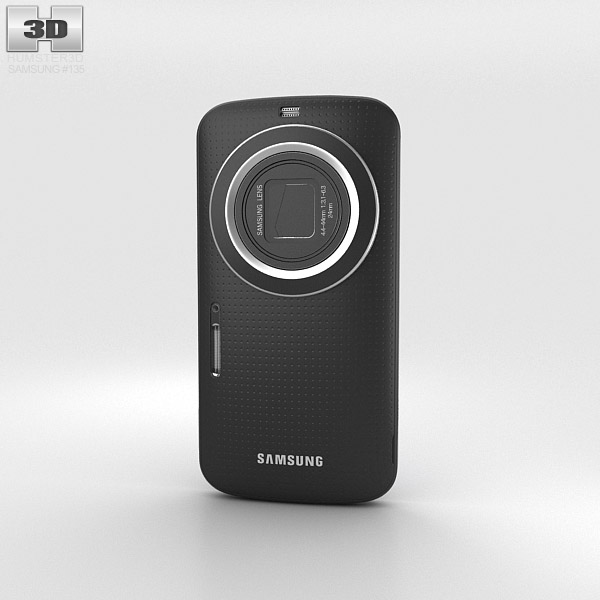
So, where to begin our work? As in the case with the baseball stadium, it all starts with goals and objectives, with the search for references and drawings. We define the dimensions of the given phone and study all its characteristics and peculiarities. Usually it’s hard enough to find out what color variants of the phone were put on sale and what fake versions exist.
To create a detailed model you will need a lot of references. It’s better to save all images in a separate folder with your project. Try to find images both with different angles and with similar ones, but always from different sources. Since, as it often happens, different lighting on the photos can help you to see the shape of the object.
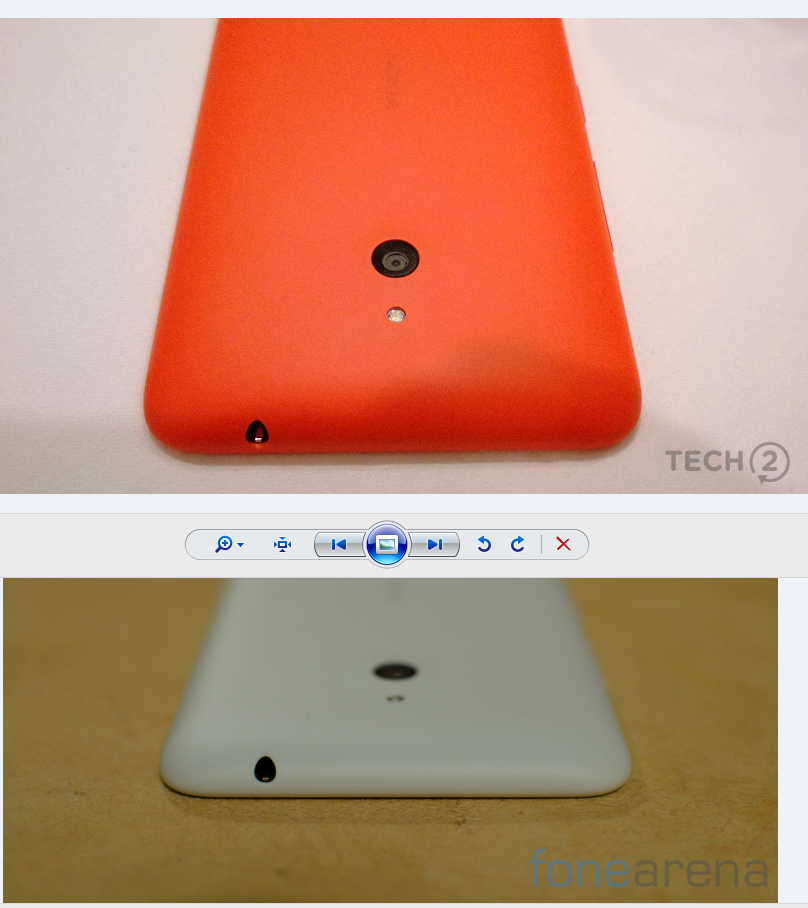
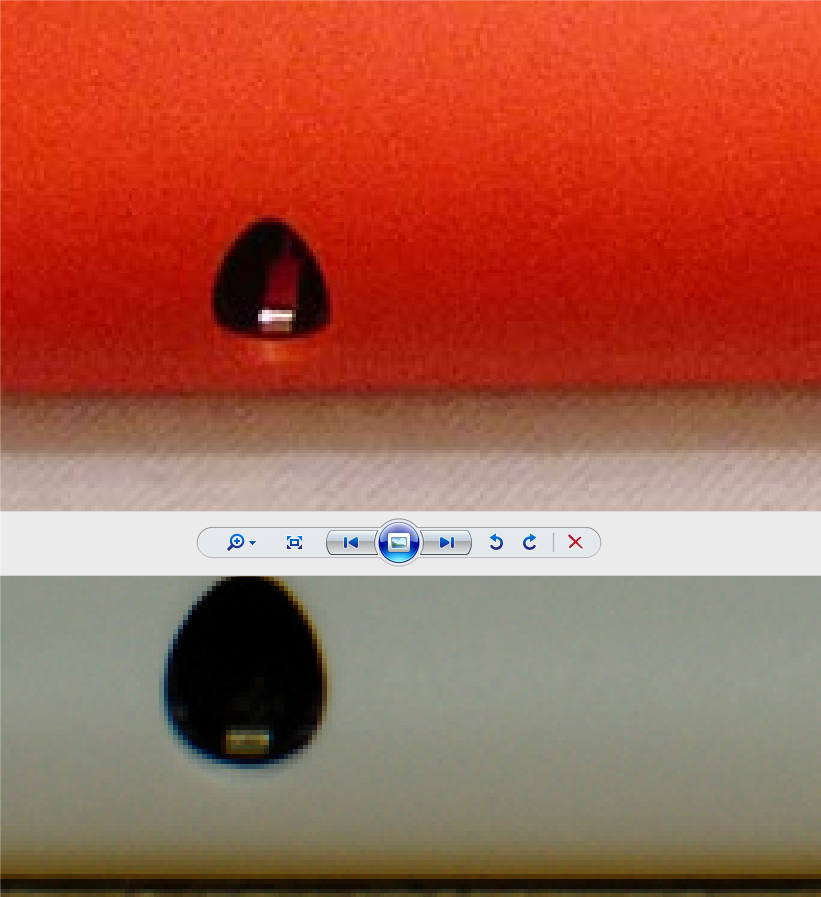
Imagine that you have two photos of a headphone jack of the same mobile phone, but due to the shadows the shape is different in all cases. If we save only one image of these two, we won’t be able to draw this part correctly. This refers to any phone detail.
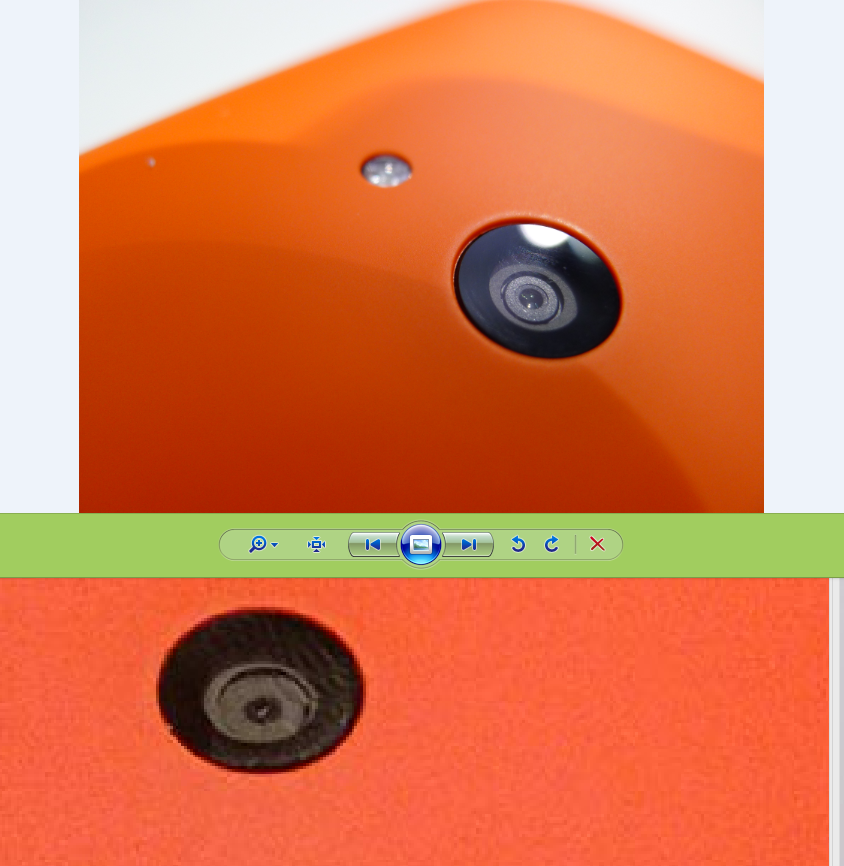
You may say that the images of a particular phone detail can be found as the work advances. Well, yes, but in that case you’ll spend more time searching for the references.
And a couple of words about the pitfalls of sizes. Often official dimensions are relative and conventional, they doesn’t mean the same in different brands. For example, Samsung indicates the dimensions without camera protuberance on the back cover but with buttons salience.

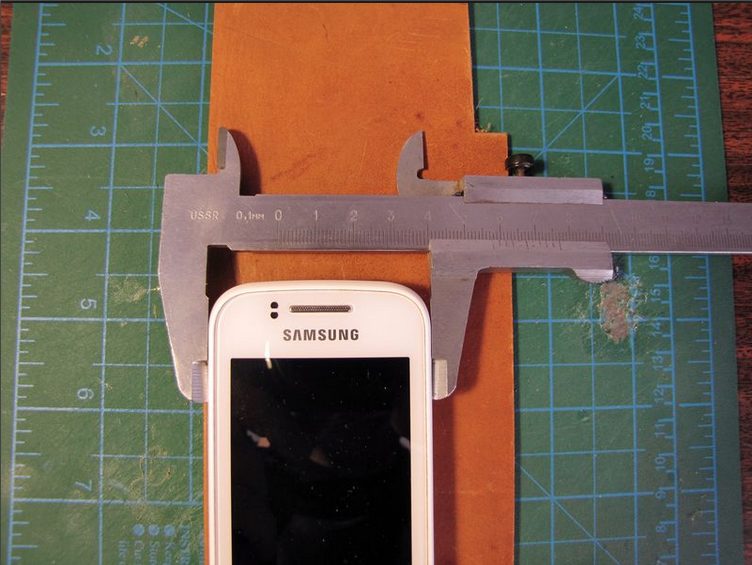
While another brands give dimensions without buttons. In brief, be attentive and try to learn as much as possible on the forums.
Now we create a scene in 3dsMax (it’s ideal for creating 3D models of mobile phones). Then we create an overall box (every phone resembles a very simple box) and, while we have the phone specification, we draw the display straight away. If you get used to measure things in centimeters, then do the following:
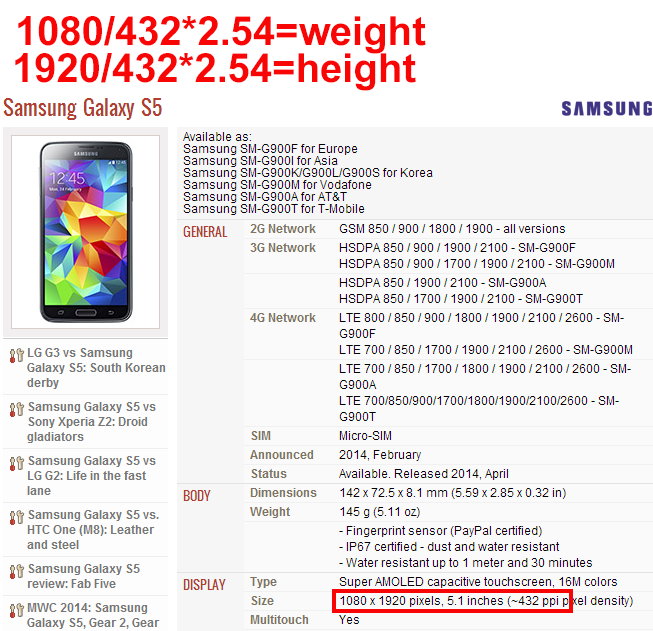
create a plan size 1920×1080, open calculator and divide 100 by 432, then multiply by 2.54 (we convert inches to centimeters) and copy the result to the scale of our plan. In such a way we don’t have a lot of calculations.
Properly sized box
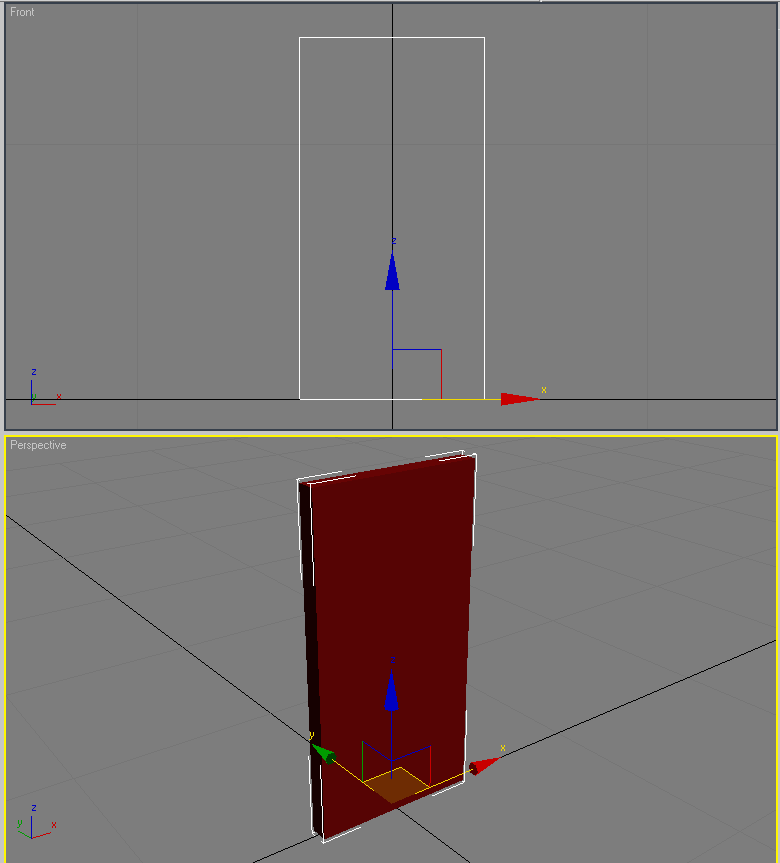
serves us as a blank for references.
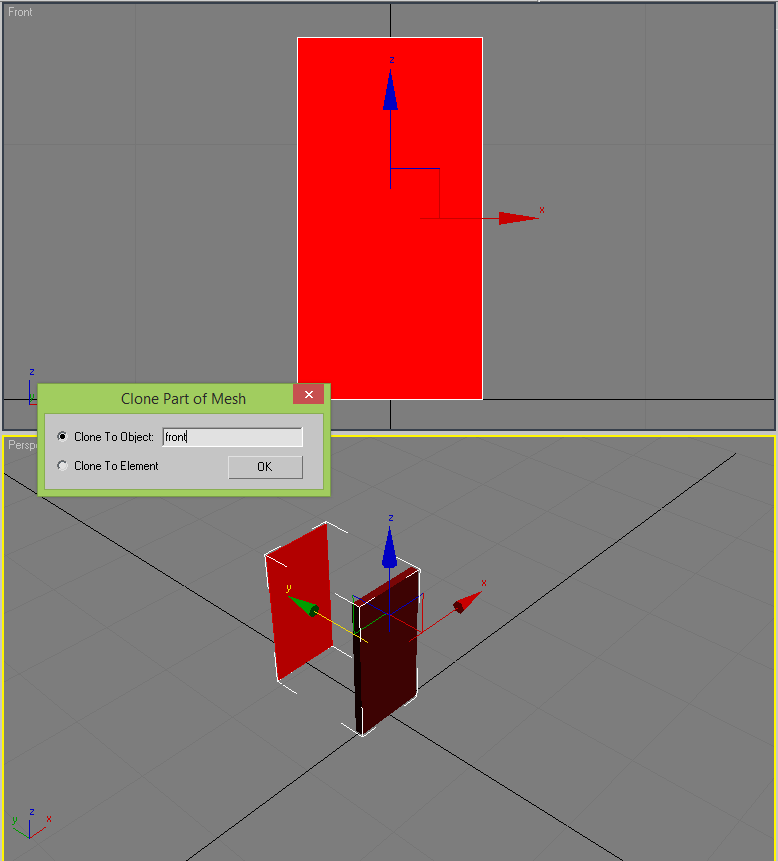
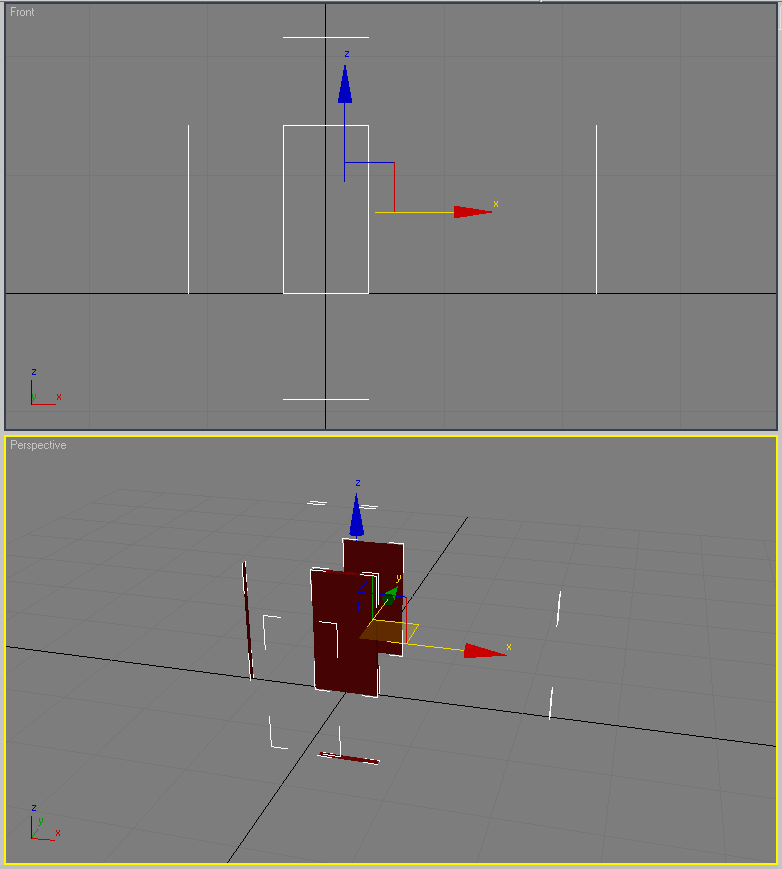
In fact, we can see the dimensions of the future model on the references. And now we create the phone body out of the box.
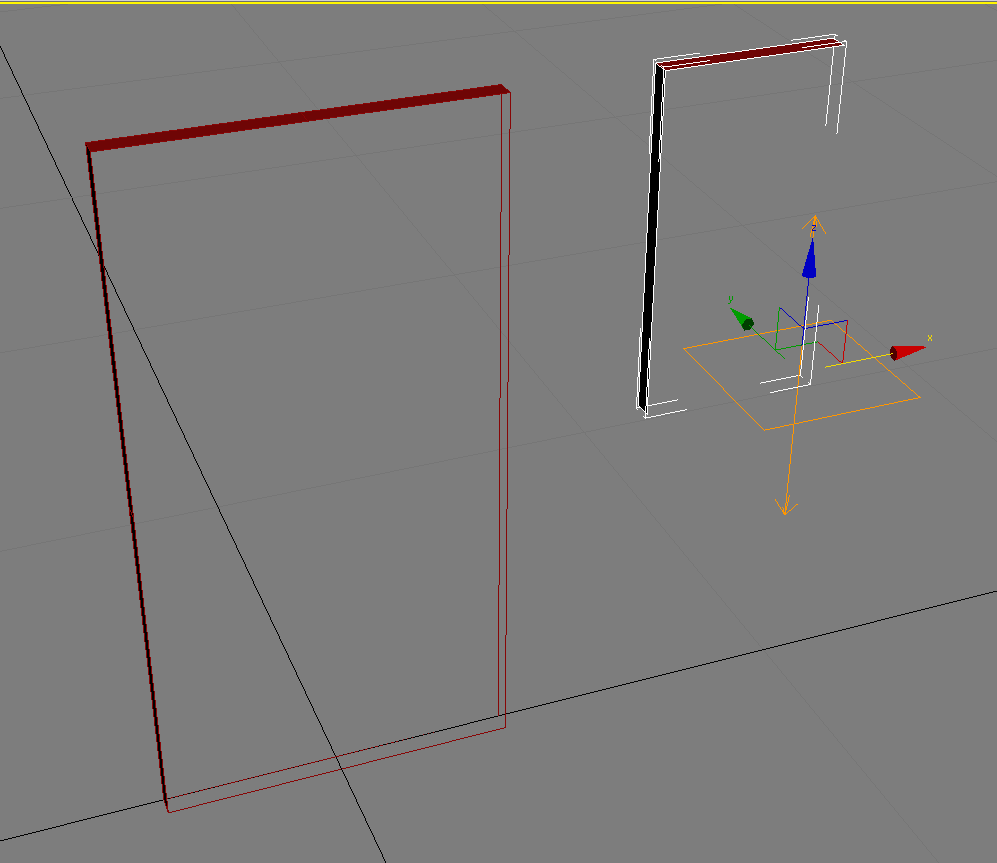
We recommend you to start with the rim, which serves as a stiffening rib and is attached to back cover. Then we’ll draw the front part of the phone out of it.
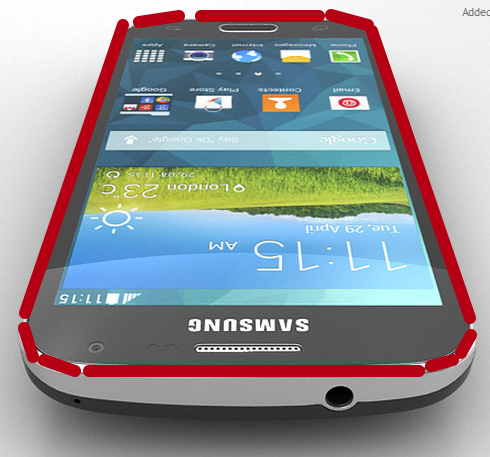
When chamfering the corner you should remember that smoothing occurs in the middle of the edges, so you need to create such edges that will keep their shape.
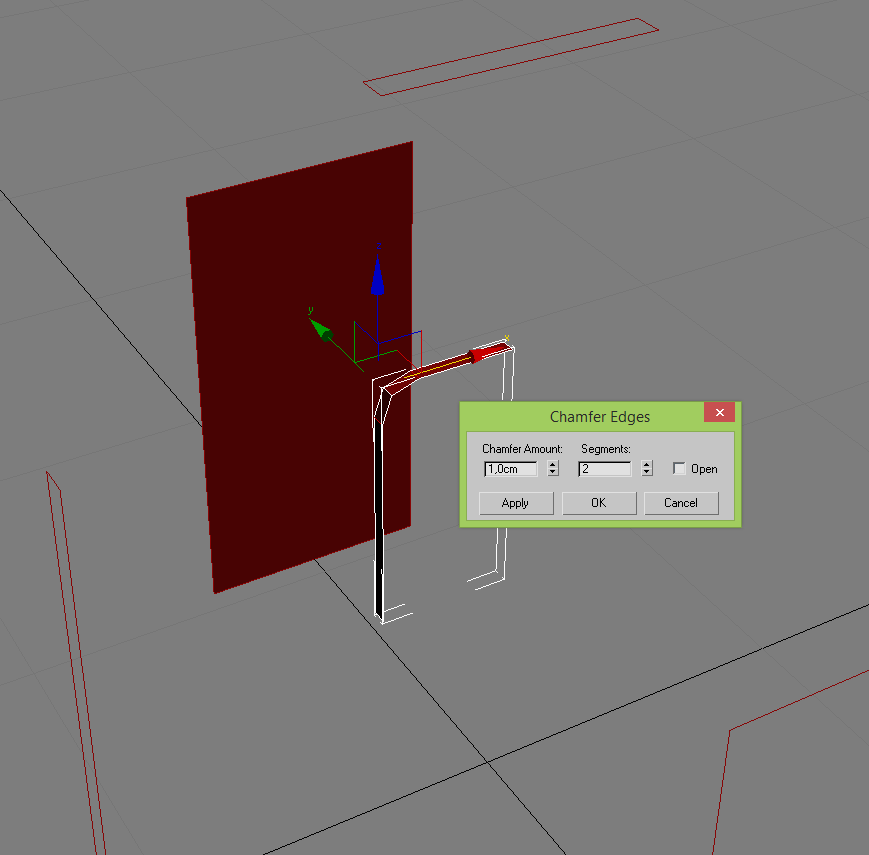
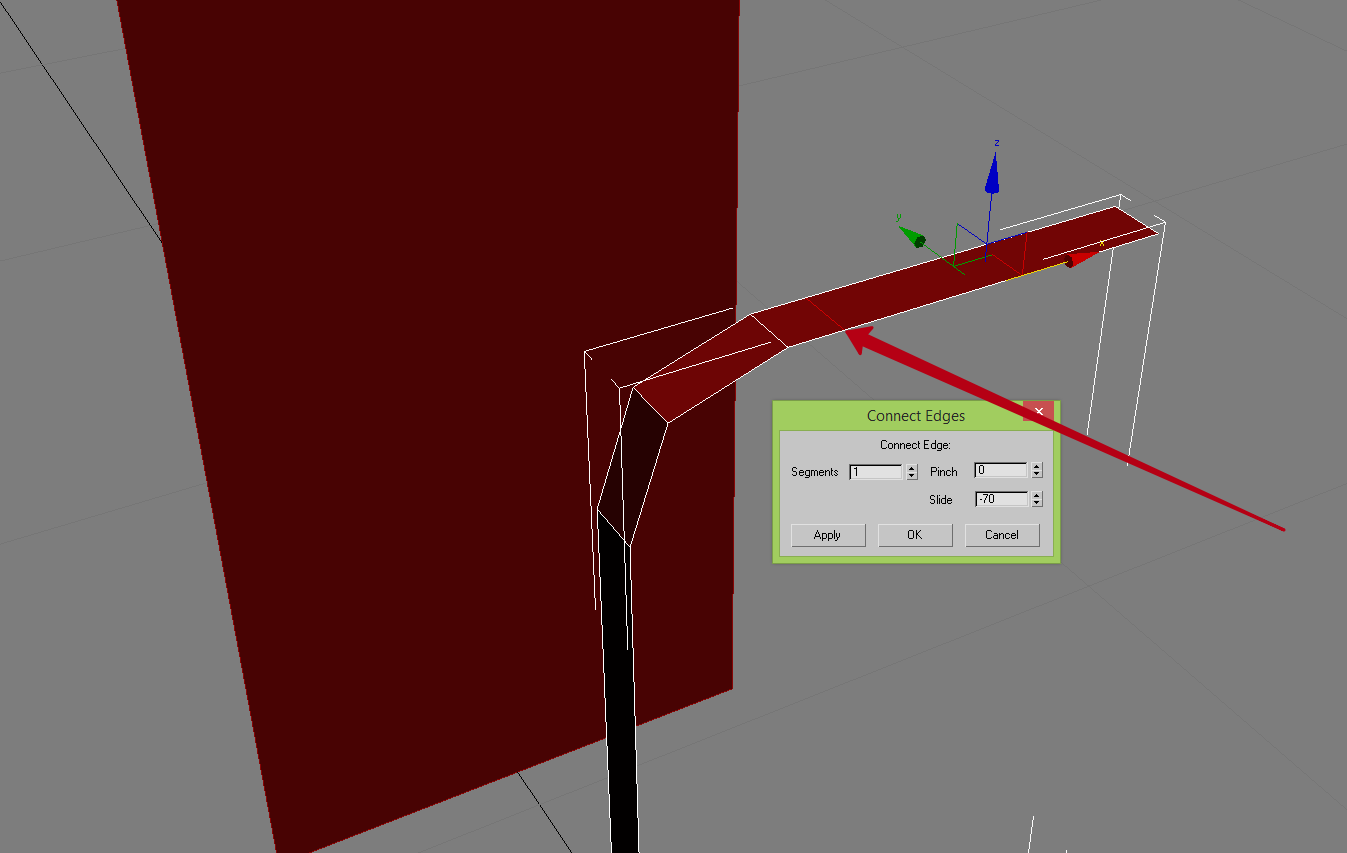
We immediately check whether the shape get distorted, whether extra edges emerge on the supporting loops.
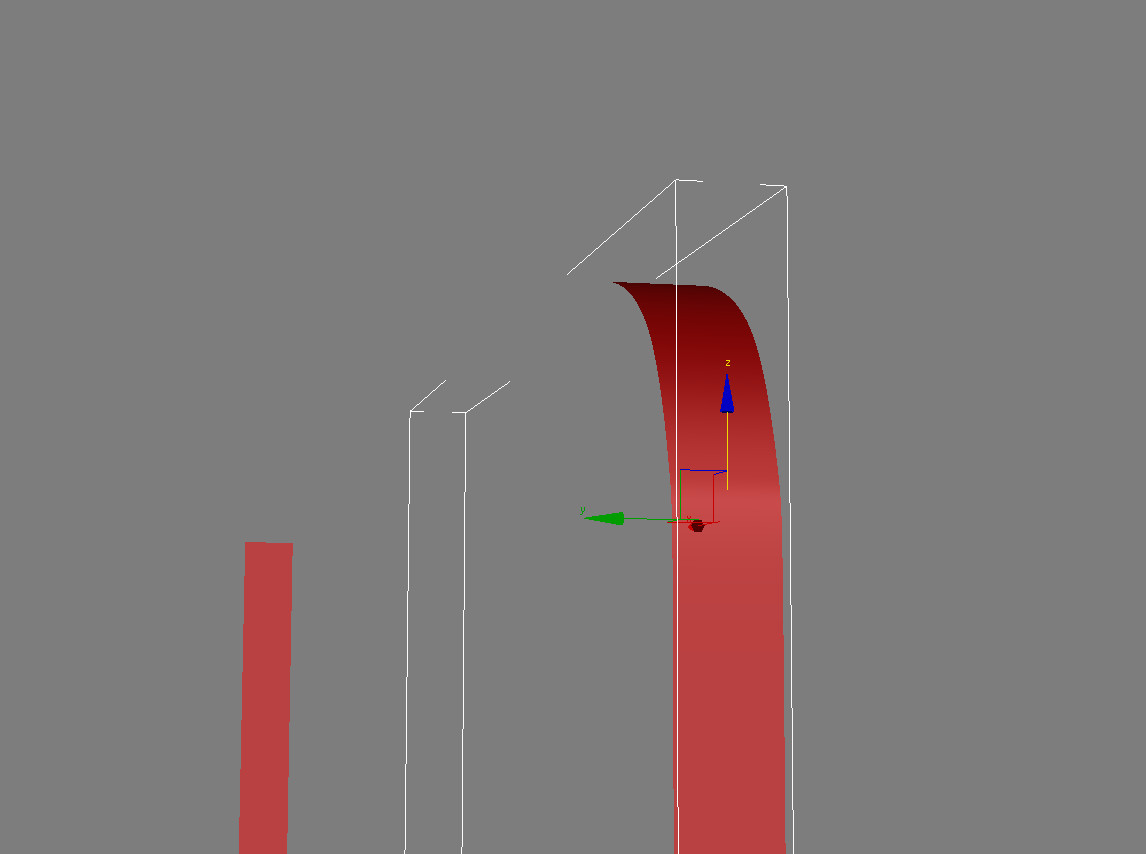
If there is a twist and we can’t see at once, just create blink material to check it up.
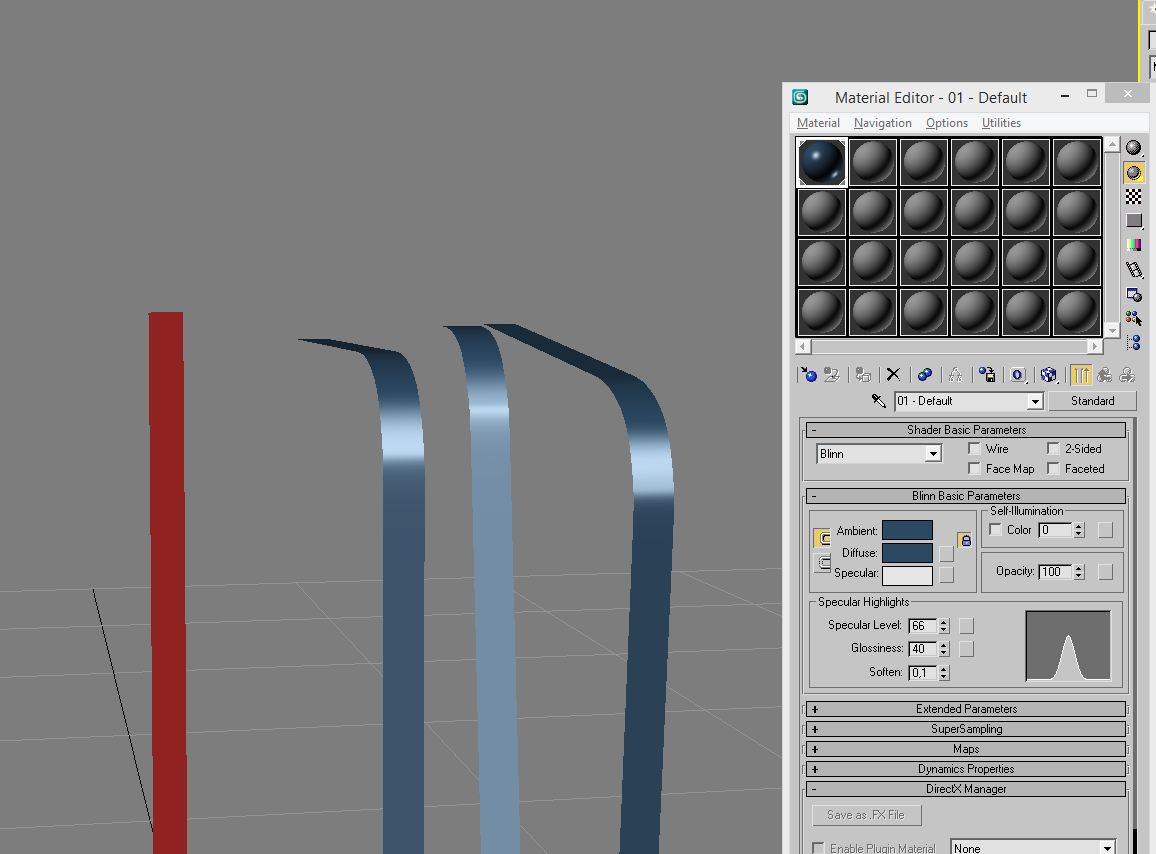
Now the shape of the verges is ready and we can proceed modeling the back cover and the front part of our mobile phone. The back cover is very simple to create.
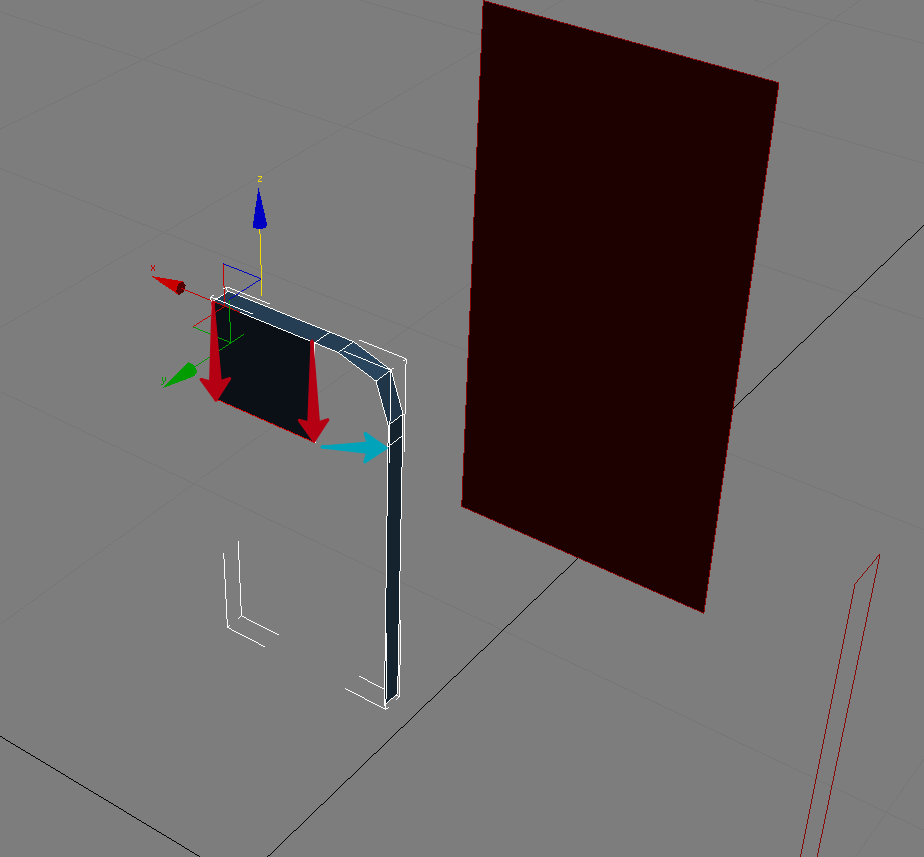
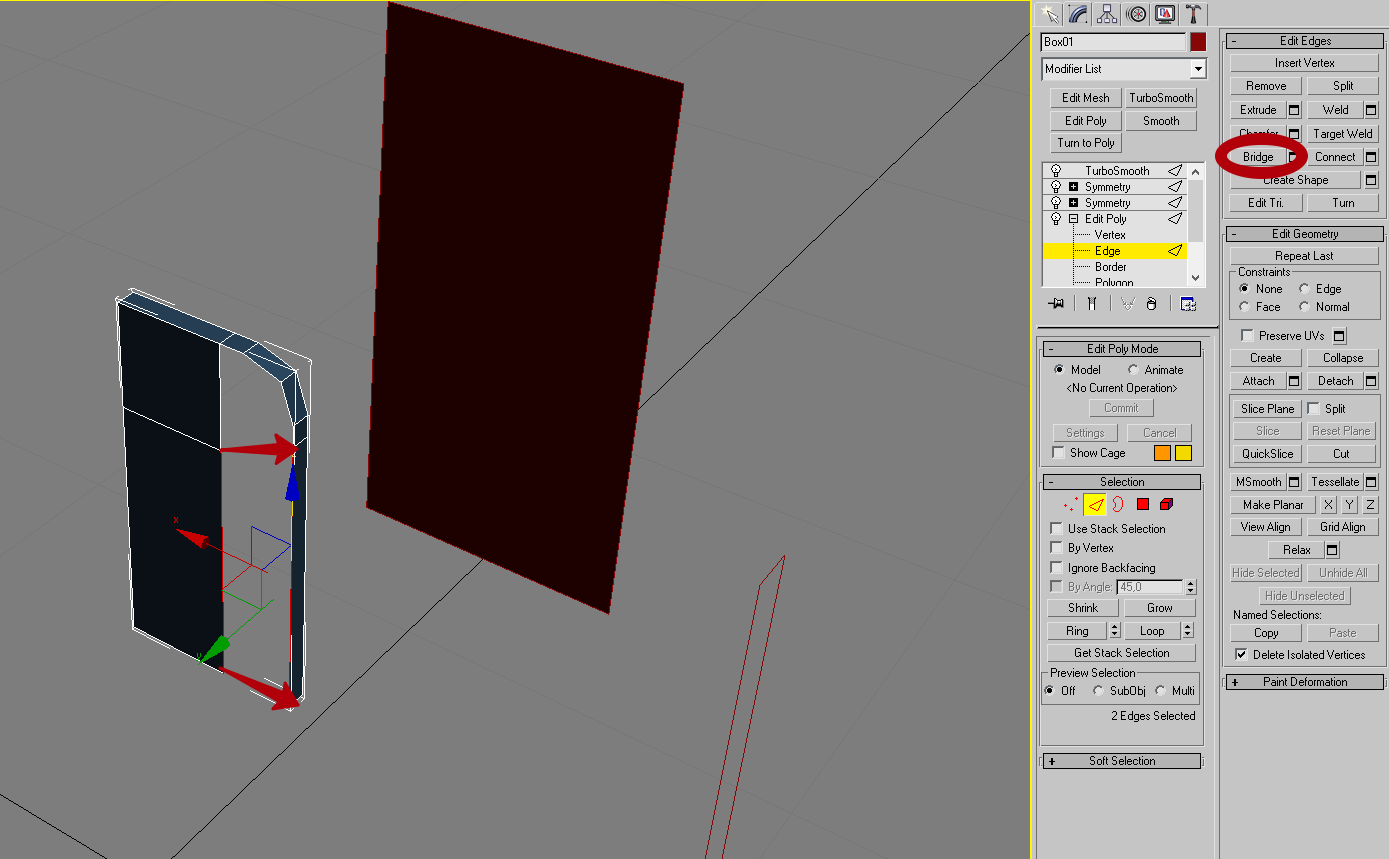
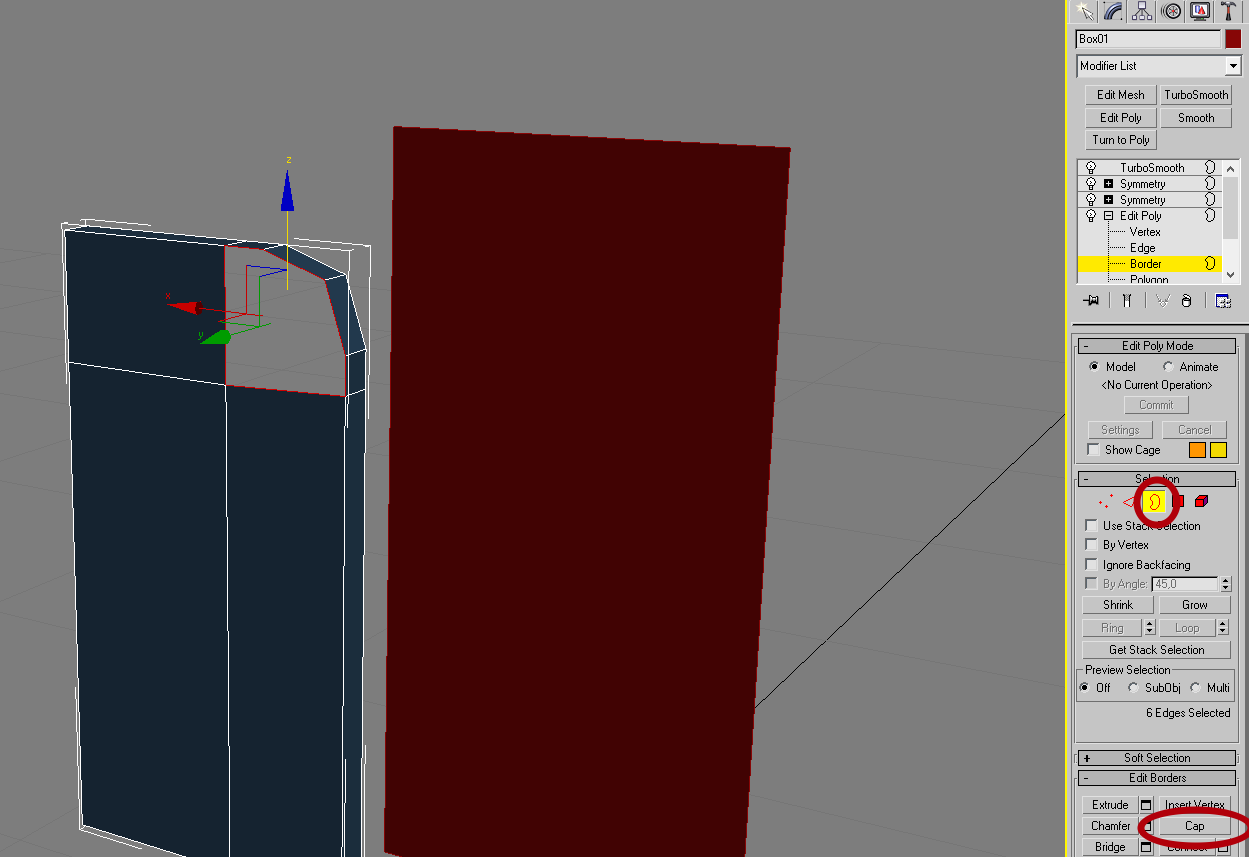
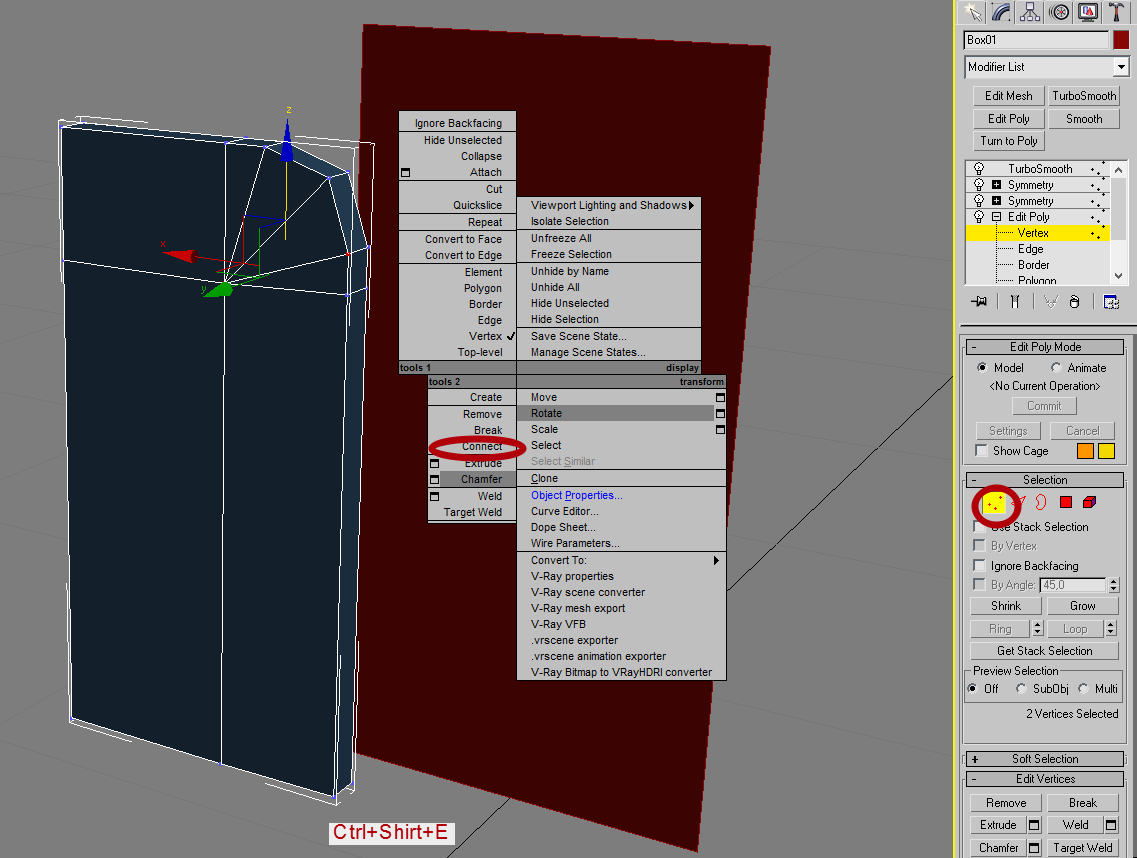
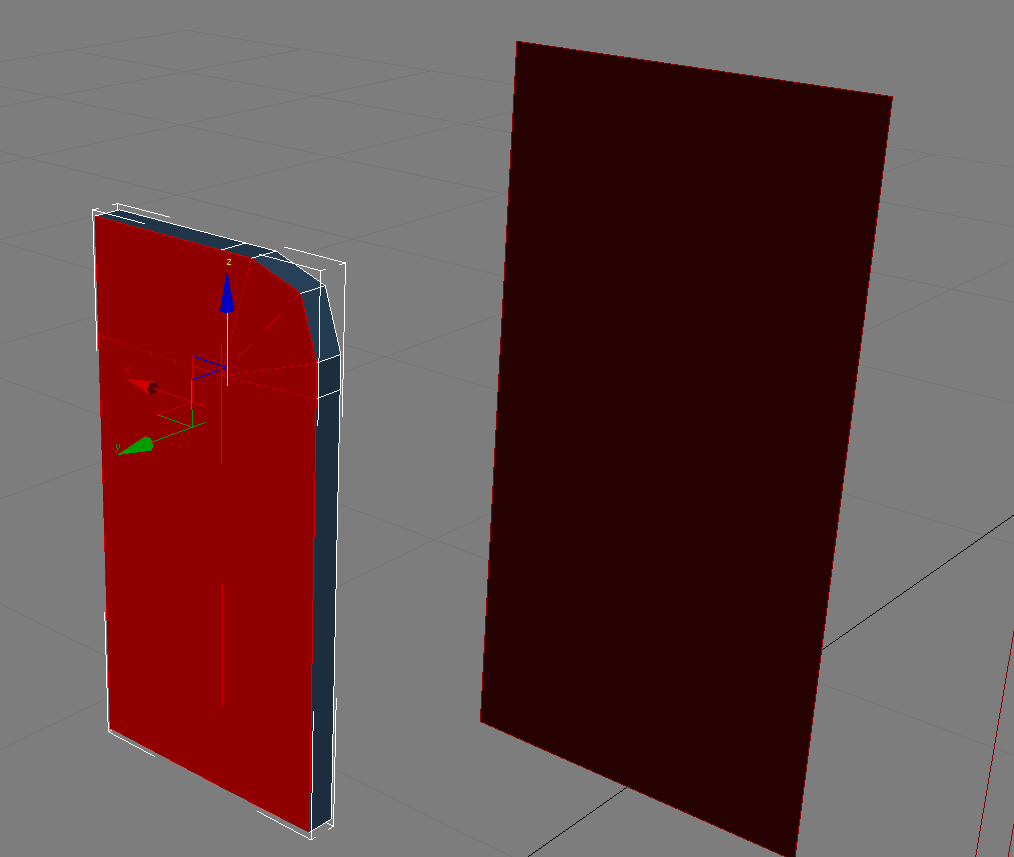
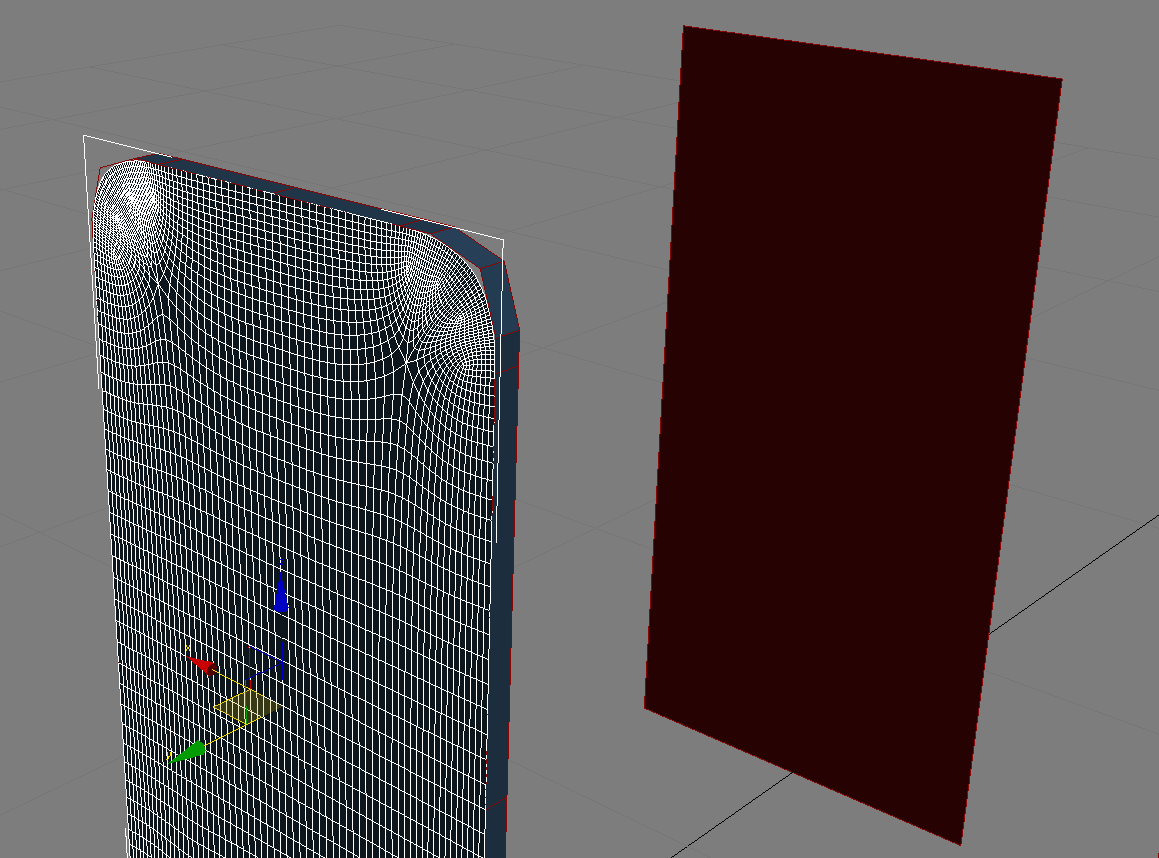
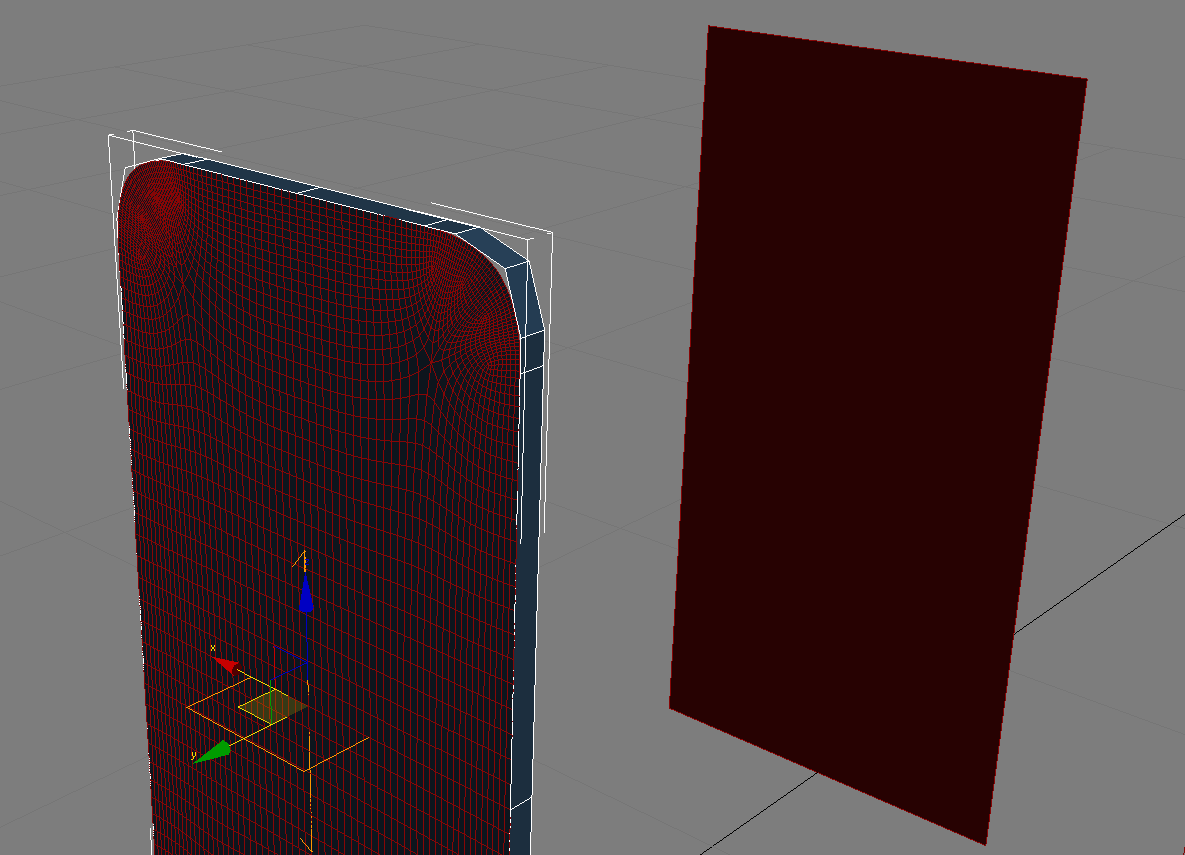
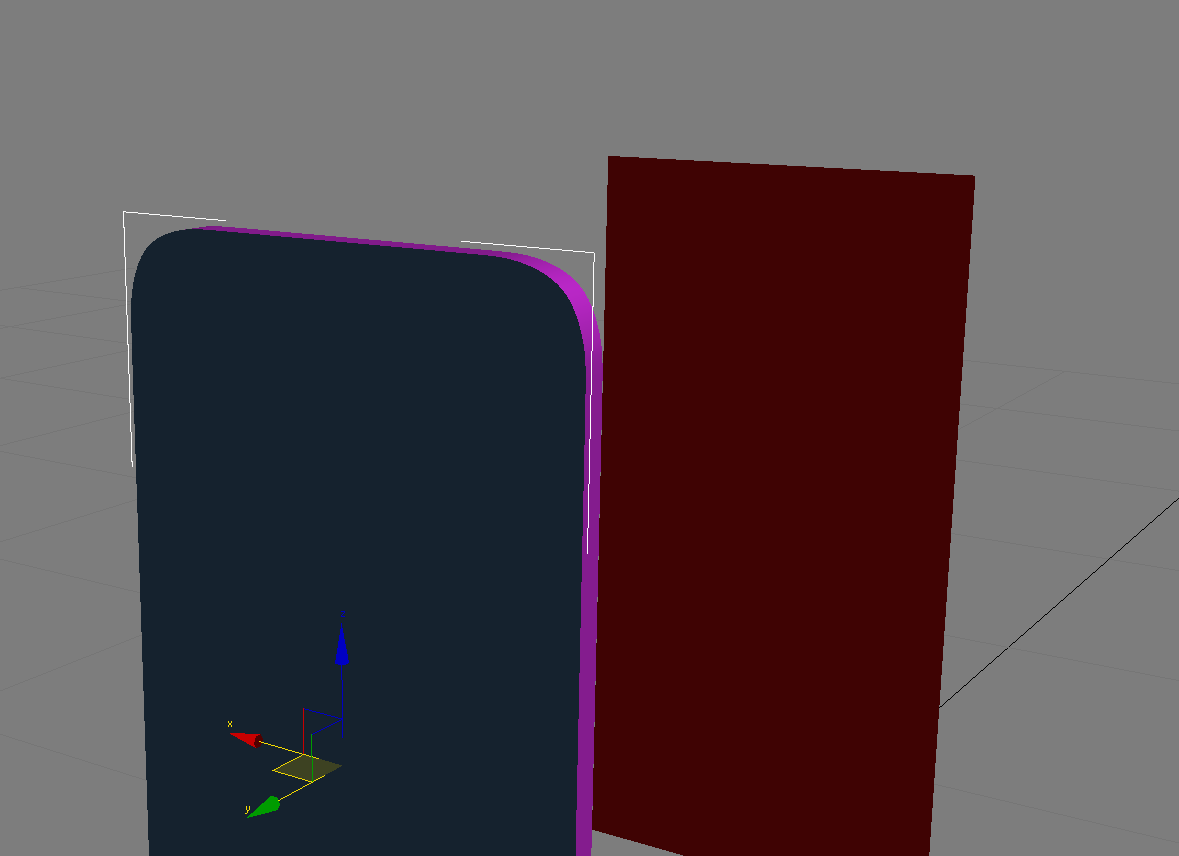
We advise you to wait with material assignment for the finished model.
And another hint: make a recess of the rim inwards the phone, equal to the depth of the glass.
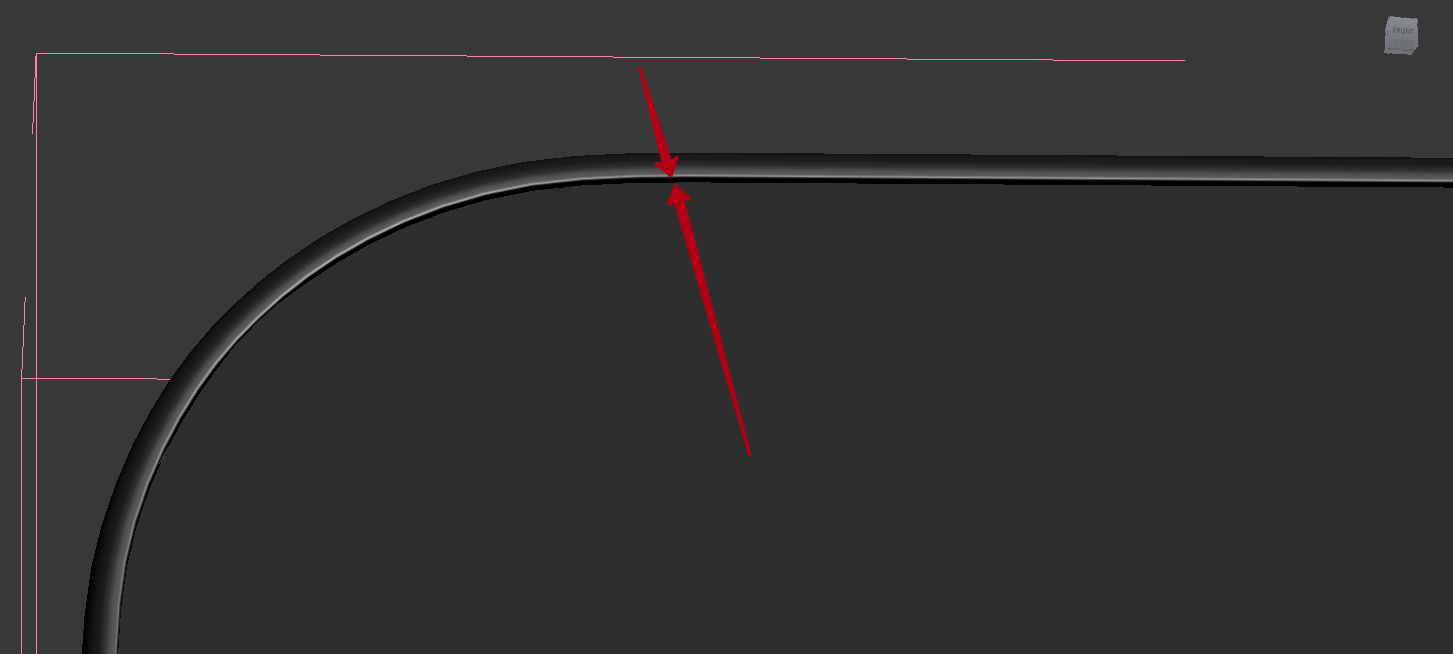
This flat place is going to be an underlay in the front where we will make a hole for the display.
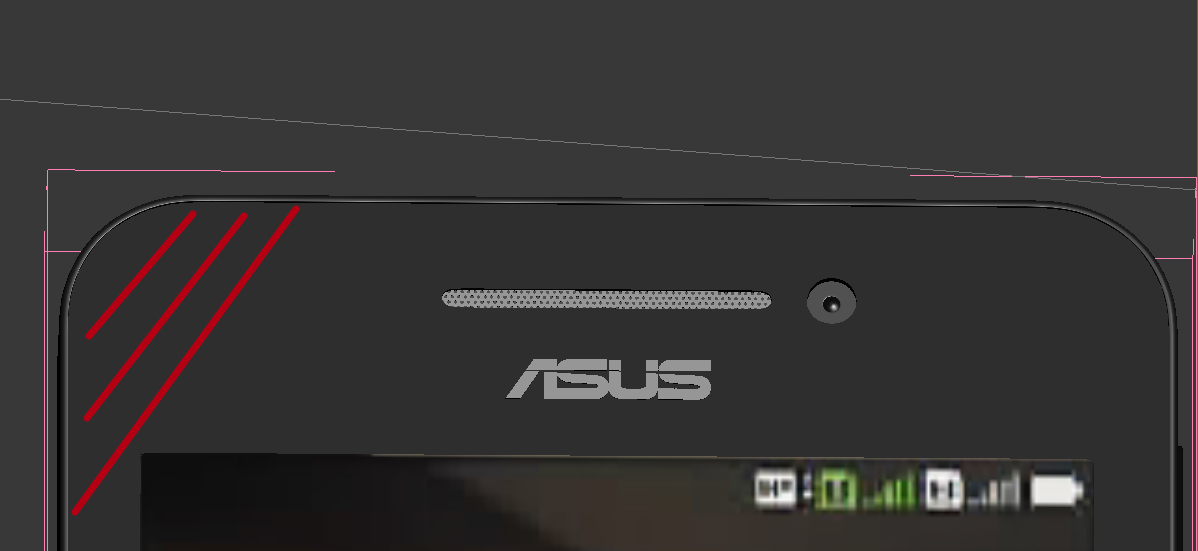
Then we drag a bit our display to get a cool shadow effect on it, the same as real mobile phones have.
When the blank is ready we arrange all the objects we need: buttons, cameras, jacks, etc.
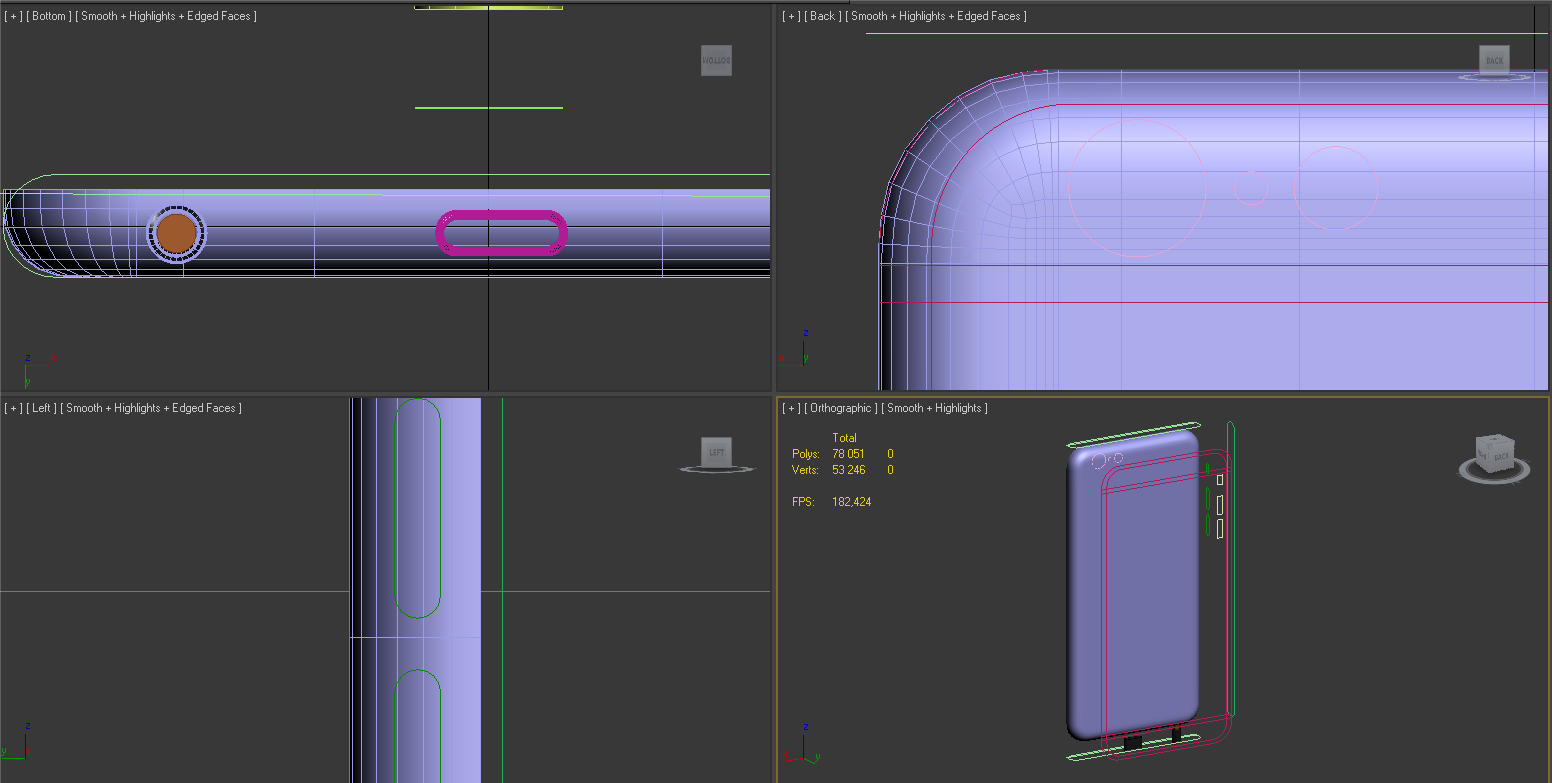
For this we use special helpers which facilitate our work when a headphone jack, for example, look a little bit different on the photo. That means we can correct the shape before we make a headphone jack – after it will be more difficult and will take a lot of time. Thus, using helpers we reduce the chance of errors. It’s never too much references and double-checking.
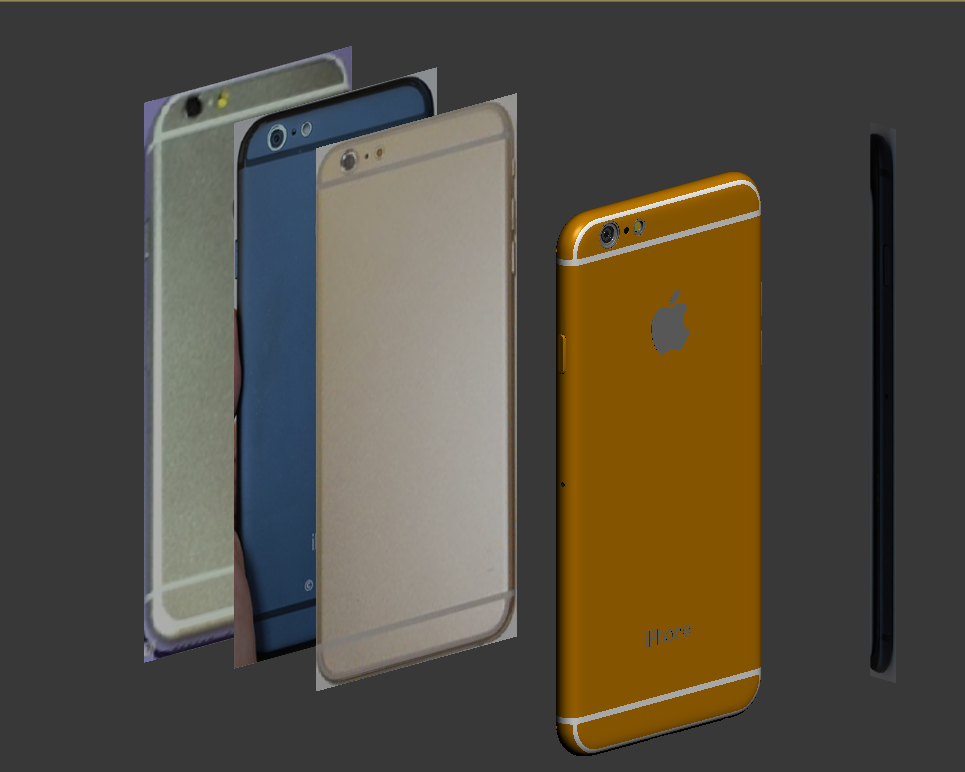
One trivial advice on textures: no matter how obvious it is, sometime modelers don’t care for what applications are running on the display of the mobile phone, what battery and connection indicators show. It’s very important to get rid of Cyrillic letters and Chinese hieroglyph – the model should look accurate. Watermarks and gradients are also a common thing.
Here you can see some more phone 3D models. We welcome your questions in the comments! Who wants to know more?
Add a comment