

 車
車
 トラック
トラック
 バス
バス
 オートバイ
オートバイ
 ミリタリー
ミリタリー
 電子機器
電子機器
 銃
銃
 建物
建物
 航空機
航空機
 家具
家具
 キャラクター
 動物
動物
 探査機
探査機
 食品
食品
 船
船
っと見る
Hello everybody! Today we are going to continue modeling Lancia Rally 037. You can find the first part of the tutorial here. After analyzing our previous lessons, we figured out that our method is good for the small models which don’t take a lot of time. So, this lesson will differ sharply from the previous ones. We are going to omit routine moments, paying more attention to fine points. Of course, somebody may not understand how we did this or that element, but in such a way we can cover more material in the lesson. I hope you don’t want to spend a year modeling one single car, do you? ;-) That’s why I ask you to write in the comments if someone does not understand something. We will analyze the complicated moment in detail. Do not hesitate to ask questions. Doing so you are pointing out the defects we should pay attention to. Besides, you will learn the information much better if you study it in detail.
Thus, let’s go!
We have shown you the principle of making blockouts in the previous lesson, so we won’t come back to it again. We will just show you how to finish it.


As you can see, the door has a straight elongated shape, practically without any curvature. But we shouldn’t forget that this is true only regarding the door. All other parts of the car have a slightly visible curvature, which, nevertheless, have a great influence on the perception. So, don’t lose vigilance!

And, please, pay your attention that in this car lateral skirts are almost absent. There is only a deep chamfer in their place. It should be taken into account immediately.
But practically on all photos this place is in the shadow and we can’t see a thing. You just need to brighten the photo in Adobe Photoshop. This picture suits us well.

Let’s open it in Adobe Photoshop and select “adjust layer curves”.

Then we raise the level of dark tones to make the bottom more visible.

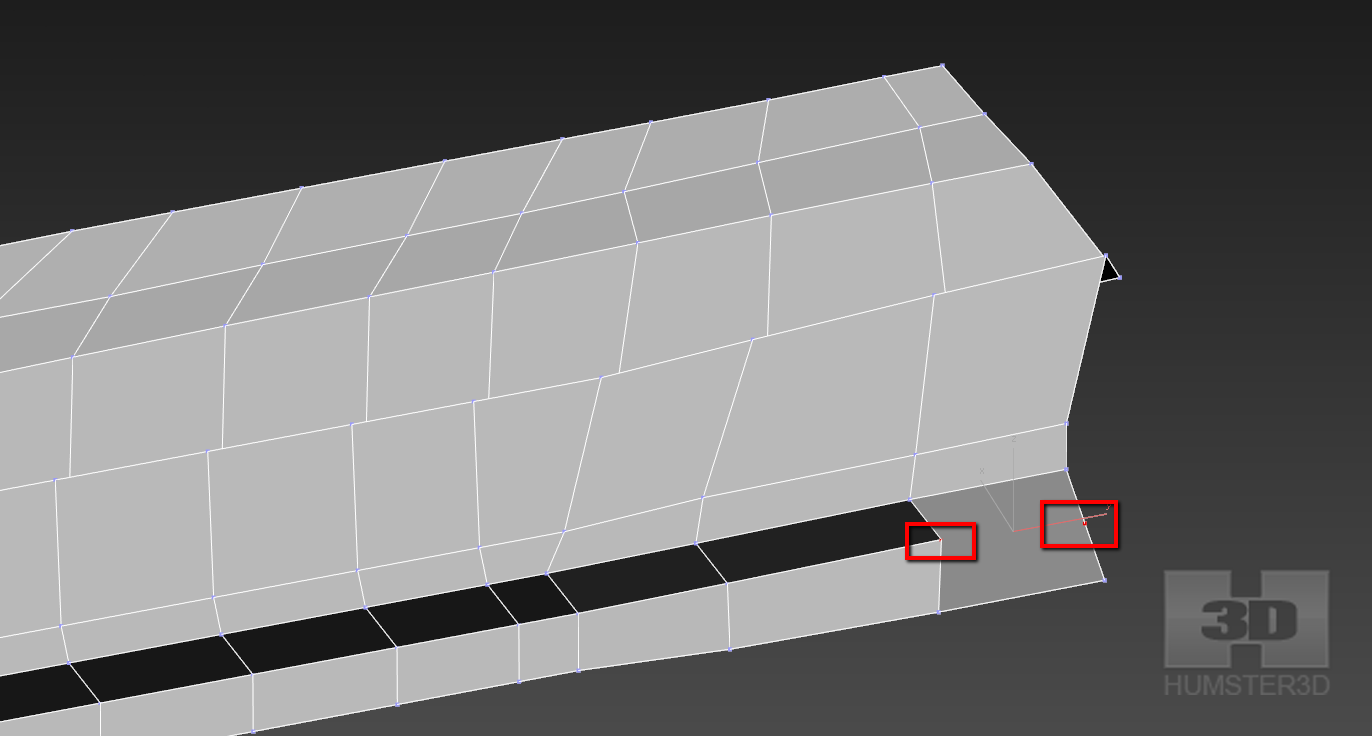
And we see that there is not just a chamfer, there is a step gradually transforming to a chamfer towards the back wheel-arch.
But we can proceed with this detail only after designing the back wheel-arch.

Select the polygons.

Click “extrude”.

And remove these polygons.

If we want to make our chamfer straight and even we should resort to cunning. We will remove and then add the segments there. I’m going to show you now and you will understand everything.
We select this edge and press “ctrl” + “backspace”.


Then click “insert vertex” and divide the edge by two approximately equal parts.
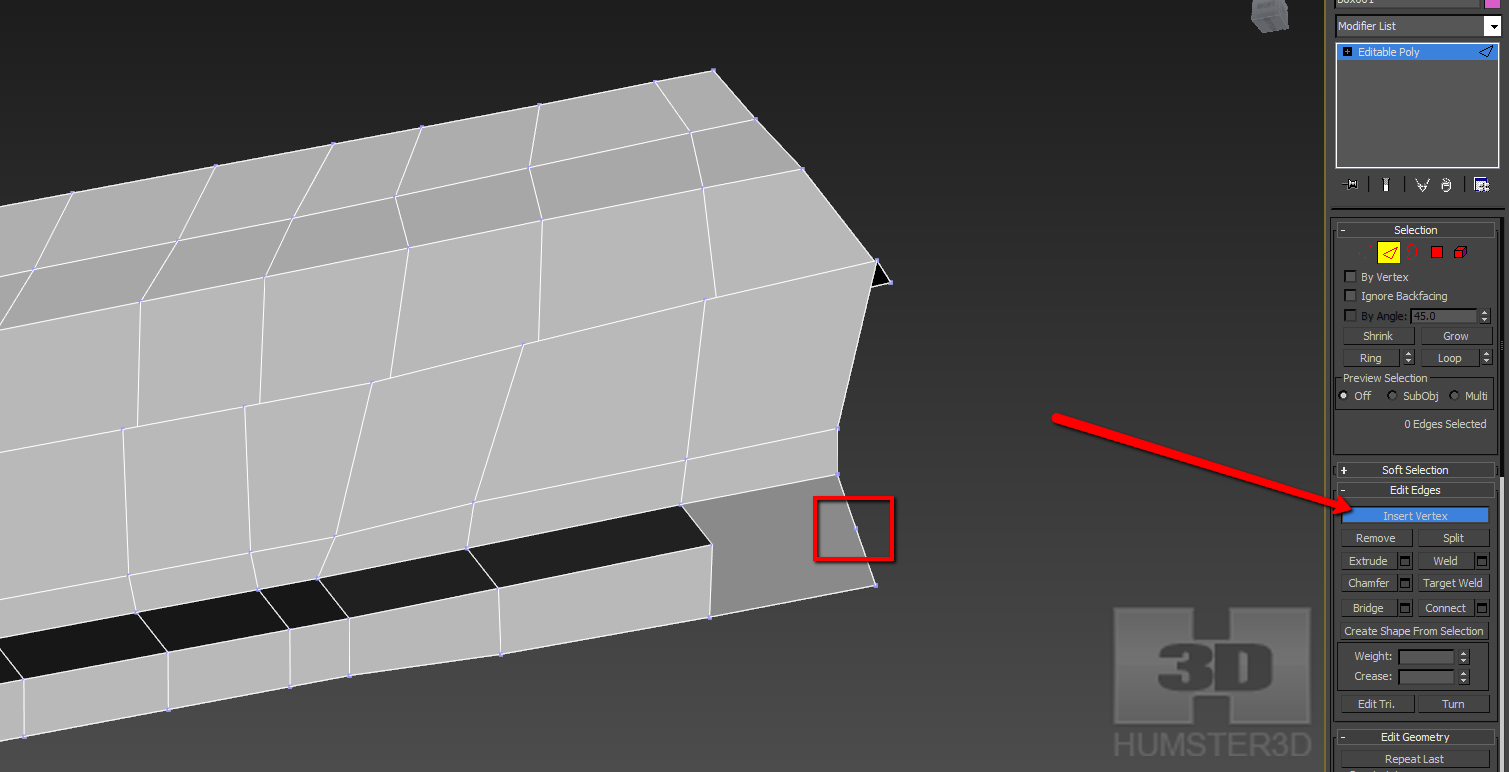
Select these two points.
And click “connect”.

As you can see, we’ve managed to avoid the triangle form and thereby made the chamfer’s edge even.
Now let’s make even the change from the step to the chamfer. Remember that the door remains unchanged lengthwise. But don’t forget that the door has a straight elongated shape lengthwise only in this car and this is an exception to the rule.

You can see that the edge along the body side is coming to naught towards the back wheel-arch. And we should also define it right away.

Now we adjust the mesh from the view from above.


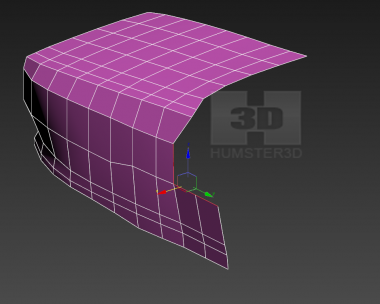
The important part is that we need to draw the blockout of the future glasses right away because it will be easier to define their curvature now. Just sit and watch.


And now the most important part: we need to level the mesh since it is easy to do yet.


I draw your attention to the fact that the loops on the roof are clearly parallel to each other, but they have to squeeze at the door arch. Don’t fail to continue door loops’ bending on the roof to get a nice flow. One form should smoothly slip with the other; it will relieve you from the unnecessary distortions.

Don’t worry if you can’t make the mesh even by hand. It requires experience. Nevertheless, you should take it into account anyway, striving to do everything smoothly right away. And don’t stop trying in case of failure. In some time you will succeed anyway.
Often try to look at your model from different angles – you are supposed to catch every irregularity and every inaccuracy and, therefore, correct them.
Here is what we already have.

Let’s optimize our blockout a bit so that mesh can be even. The shift can affect the curvature; in order to avoid it select “edge” in the menu “constraints”.

When you activate this function, vertex can move only along the edge.
Then we select these edges and move them upwards a bit. Do not forget to switch on the menu “constraints”.


And, as you can see, – no distortion.

To see the full picture we need to draw the back part. So far we are not going to make the spoiler. Although it is present in all models and it is an integral part of the car, still, it is a separate part of the body.
And so on according to the well-established plan. We select the edge loop and with the help of “click&drag” extrude edges, and then we adjusting them to the shape. Just remember to switch off the menu “constraints”; otherwise in your mesh appear some artifacts.


We can see that at the back part of the door, between the side piece and the cockpit appears some kind of a shelf, which then goes into the engine bonnet.

So we are drawing the shelf too. Don’t worry about the triangle: afterwards we are going to cut out the door and it will be possible to draw the loop aside without making any triangles.
Select the edges and click “connect”.


Immediately adjust vertexes to get a nice flow.


Here is an example of a good angle, which clearly shows us all irregularities.


And we continue our work. If we don’t want any problems when joining the cockpit with the body, the number of edges should be the same on both sides. So, let’s count the number of edges on the roof and make the same number of edges on the engine bonnet.


We make a bridge. We don’t need to spend a lot of time on it, do we?

And make everything even here at once.

Close the hole.


But we can’t leave this polygon like that. It has to be divided into quads.

We outline the future polygons manually. With the help of instrument “cut”.


Now we connect the selected edges.


Outline the other polygons in the same way.


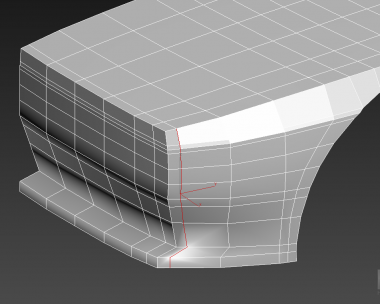
Here we’ve got a sharp edge. Let’s correct it immediately.


All the time after leveling the mesh don’t forget to give a look on the blockout from other angles. Perhaps, smoothed from one view, the harmony is broken from the other. This should be done both from orthogonal views and from perspective, as well as from ¾ angles.
Let’s put into shape the rear bumper.


We repeat our trick with the number of loops to join smoothly the bumper with the rest pieces.


The blockout is ready! But I have an assumption that the form of the engine bonnet is likely to follow the curve of the glass from the view from above.

We don’t know it for sure, because the area we are interested in is hidden on all pictures with the spoiler. I propose you to apply the rule that car has no flat sides and repeat the curve. My experience of car modeling tells me exactly this.
Now we need to make the symmetry to see the entire car. You don’t need to do it now but I strongly advice you.
Employ the symmetry modifier.

That’s what we have.
And now have a good look at your car from all sides, look for some irregularities. It will be easier to correct them now.
So, enough for today. We will continue in the next lesson.
Have a nice render!


)
Thanks for sharing this tutorials.It is really very helpful.I gained some knowledge by reading this