 자동차
자동차
 트럭
트럭
 버스
버스
 모터사이클
모터사이클
 군용 차량
군용 차량
 전자 기기
전자 기기
 무기
무기
 건축물
건축물
 항공기
항공기
 가구
가구
 캐릭터
캐릭터
 동물
동물
 우주선
우주선
 음식
음식
 선박
선박
보기
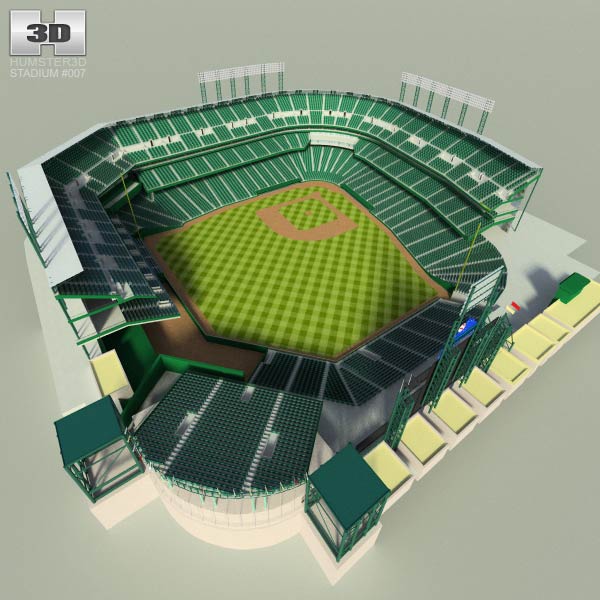
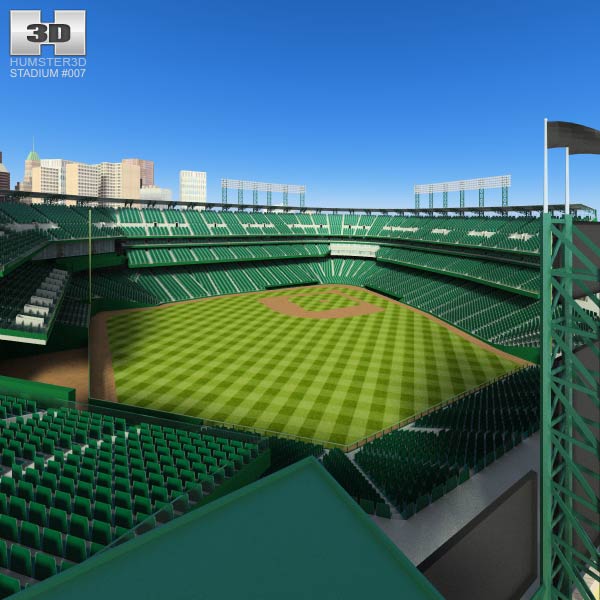
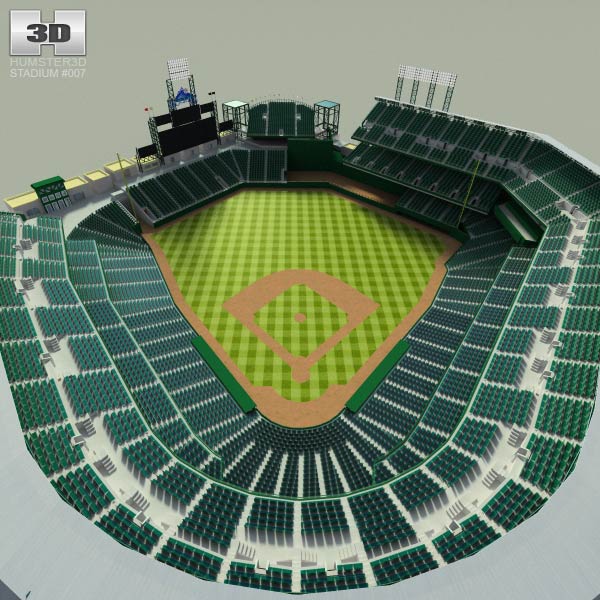
Hello everyone! We’ve got a great idea to share with you monthly the process of modeling of an item from our shop. Today we’d like to tell you about the low poly 3D model of Coors Field ballpark. Yes, the same one that is located in Denver, Colorado; the home field of the Colorado Rockies. You’ve heard about them, haven’t you?:)
Let’s go step by step and start with goals and objectives. It’s impossible to create a 3D model without understanding of how it will be used in the future, how detailed it should be, what will be seen on the render, etc. Each sphere, whether it is television or gaming industry, has its own requirements.
We have defined the likely purpose of this 3D stadium as a game location. Therefore, we set ourselves the task to save as more polygons as possible and achieve a good view from the immediate center of the field. We kept within 101000 polygons that is quite well for such a big building.
Now let’s move on to the quick review of the modeling process. Where to begin? Of course, with the reference search. A plan or a scheme with the view from the top of the stadium would be just perfect.
Next, we outline the outer verges of the stands with spline tool and convert to editable poly. It is advisable to leave the vertices only where the geometry changes. It will allow us to make a more appropriate inset at the next stage.
“Inset” up to the extreme inner verge of the stands.
Then we select our object’s outer edge with the help of border tool and lift it up.
In this position of our half-finished stands we select all transverse ribs along, connect them and set the necessary number of rows.
So, having now the stands divided into rows, we cut all unnecessary stuff along the inner border of the stands (it will automatically dispose all sectors at the height we need in the relation to the playing field). Next, from the top view and with the help of cut tool, we divide our stands into sectors: we select them all, apply chamfer and set the width of the passages in accordance with the drawings.
In order to make steps on our stands we select all the rows along and split them. After this we select all our objects using edge tool and with the help of scale zooming drag them up vertically until the rows don’t unfold horizontally.
And now we need to join the rows with the help of bridge tool.
To give a finished look to our stands we drag all inner and outer edges to the datum plane.
In order to create the upper rows of the stands, we copy up the necessary parts from the finished lower stand and edit them as on the premises approach.
Since the upper stands have a sharp rise, there are some more steps between the rows. We can make them by dividing the rows in half for height with the help of connect tool. It will allow us to model the steps correctly at their intersection.
Now we cut entrances and exits to the stands where the appropriate places are. And then proceed to do the skirting boards.
To finish the upper verge of the stands let’s draw the skirting boards on the outer edge, as well as roof and supports for the future spotlights. The next comes your independent mechanical work on the detailed elaboration of the stadium – as much detailed as it is required.
Now we need to fill the empty stands with seat places. To make them more realistic, certainly, we could have done it by placing them with the help of geometry, but since we have a lightweight 3D model, the previously prepared seat textures with opacity will be enough for us.
To do this we select the edges of the rows where the seat pleces will be and create there splines using “create shape from selection”. Then we select our splines, drag them up to the height of our seats with the help of extrude modifier and put backrest texture on them.
After adding UVW Map modifier we set height and width used when extruding. Our next step in order to align the textures is to add Unwrap UVW modifier by planes: we go to the loft, then tools menu => pack uv’s, assign 0 and disable all checkmarks.
It remains only to put all loft elements together: we level them along the left edge selecting each one.
Now our backrests are finished. To make them more realistic you can cut them along the edge and arrange them to your taste. To make backrests you can just select the polygons, rotate by 90 degrees, copy and replace them by textures.
That’s it.


By the way, write in the comments to the models on our site the creation history of which you might be interested to read. And we, for our part, are preparing a new material about the modeling of an animal – we like them very much lately.
Have a nice render! Please send us your ideas and opinions.
Could I pay for a detailed tutorial on this?
Can u make a bike tut similar to car model tut?