

 Автомобілі
 Вантажівки
 Автобуси
 Мотоцикли
 Озброєння
 Електроніка
 Зброя
Зброя
 Будівлі
 Авіація
 Меблі
Меблі
 Персонажі
 Тварини
 Космос
 Їжа
Їжа
 Кораблі
Теми
3D product design has become a powerful tool for designers and manufacturers to create visually appealing and functional products.
This article will discuss key considerations, techniques, and applications for creating realistic 3D models, touching on the importance of real objects, accurate dimensions, and emerging trends. The insights and guidance provided will benefit both experienced professionals and newcomers to the world of 3D product design.
Various programs are available, each with unique features and capabilities suited to different aspects of product design.
Here is a list of popular software options and their features:
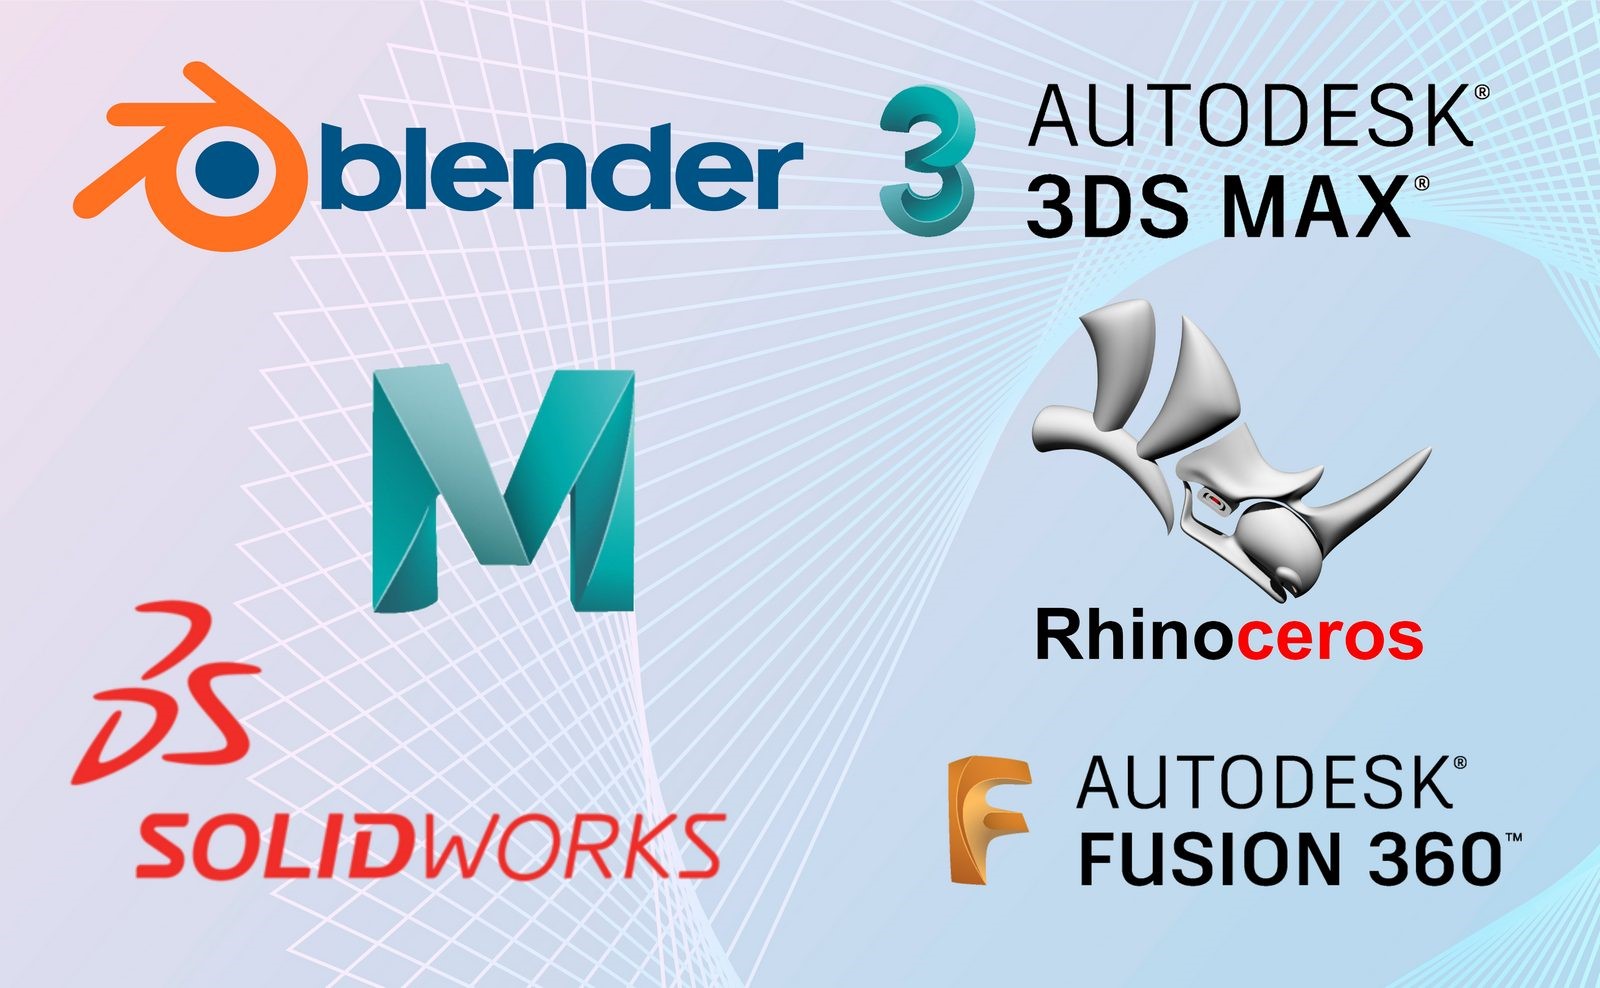
By understanding the strengths of each software, 3D artists can select the most suitable option for their projects, streamlining their workflow and enhancing their design capabilities. Ultimately, this will enable you to create more realistic and impressive 3D models.
Considering factors such as ease of use, compatibility with other design tools, and the specific requirements of your project will further aid in making the right choice. Remember that some programs are better suited for organic modeling, while others excel in parametric or CAD-based design.
When approaching a task such as the design and modeling of products, there are a few things you have to consider if you want to work on and complete the project efficiently on the one hand but also work properly on the other.
Because in the field of CGI, it is often the case that there is an eternal balancing of effort and appearance.
It always depends on what you are working on at the moment or what is to be shown in what form, but basically, you can always spend a lot of time and effort on details or areas that in the end hardly matter or don’t change anything in the overall picture.
That’s why it’s important to define beforehand what you want to show, what is important, and what is the focus of the model.
If you are working on a commission for a client, it is enormously important that the client knows what the model has to be able to do in the presentation. Does it have to open and close? Does it have to be able to change color? Does it have to be able to liquefy? Can you shoot it with a bullet, and then it reacts to it physically correctly?
All such points can multiply the effort and, thus, the project’s budget. But now to the modeling itself.
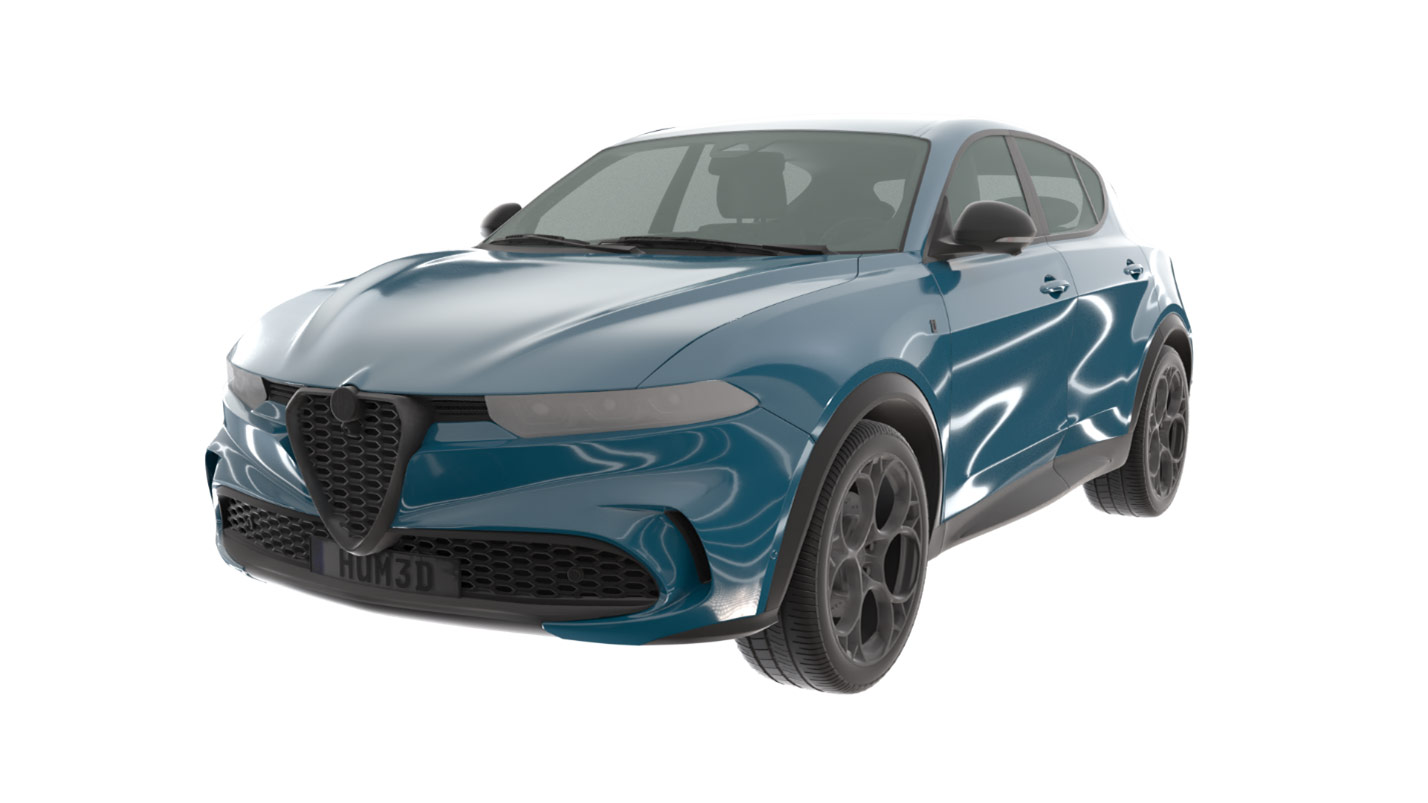
In the image above, you can see the 3D model of a car. Cars are usually shiny, reflective objects. It means that you have to put a lot of effort into modeling the paint surface of a car so that a beautiful glossy surface can appear later in the shading and geometric errors or imperfections are not visible.
This is because the more reflective or transparent an object is, the easier it is to see the errors in the surface structure of the geometry because the refraction of light on or in the object easily disintegrates the illusions of a real object.
We, humans, see cars very often in our lives and have observed the refraction of light on the body curves many times, which is why we expose small errors quite quickly.
So, as we said, there are a few things you have to keep in mind when visualizing a product in 3D so that the whole thing goes properly.
Besides the work focusing on important things and transparent communication with the customer, there is of course, the geometry structure, also called “topology”.
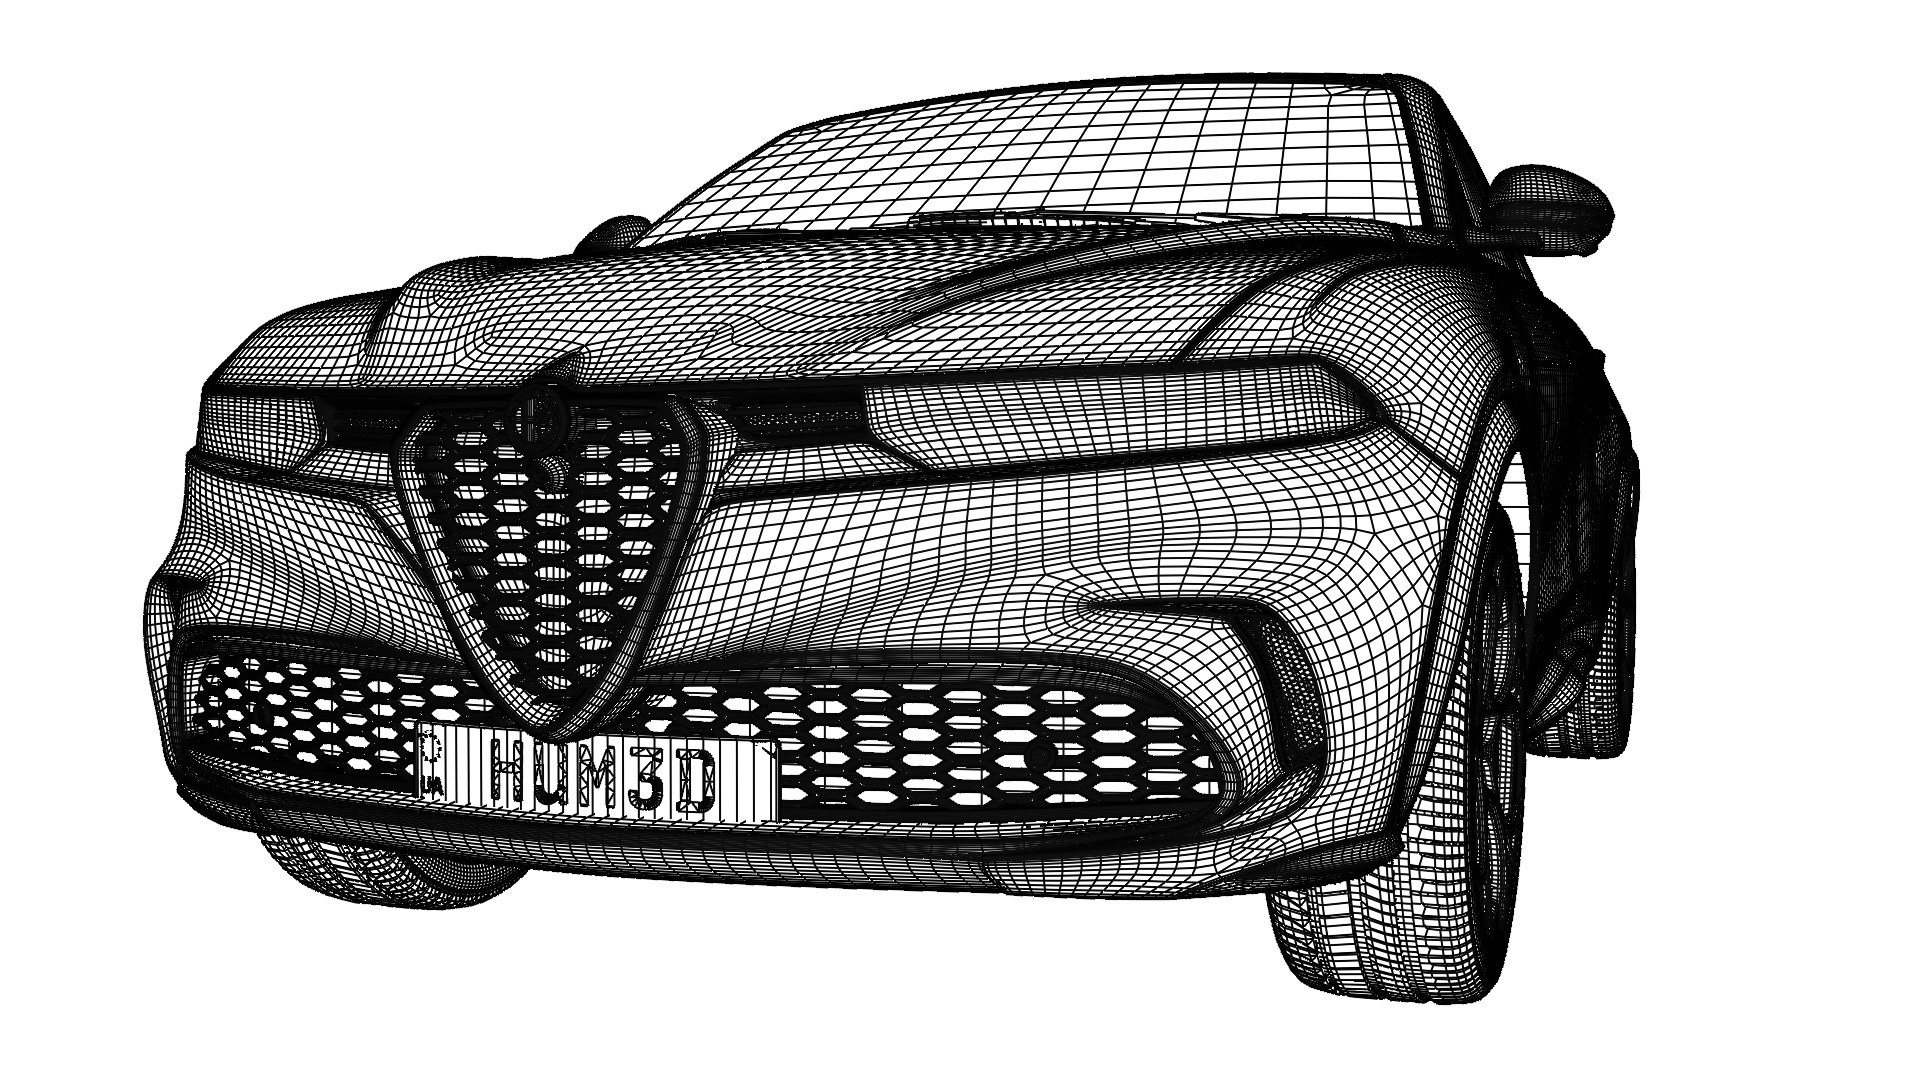
Especially with such transparent or reflective products, it is important to work out a proper topology, otherwise, you can run into problems when shading the material.
The normal vectors, which point vertically away from the polygons (also called faces), are the most critical component in calculating the material. These are usually available in relatively small numbers and are then simply interpolated between them.
In other words, many new vectors are created that do not exist at all. This is done so that you don’t need millions of faces, but only a few hundred, for example.
Because then each pixel has its own (interpolated) vector instead of just each face. You can then depict realistic reflections and lighting conditions with these different vectors.
That’s pretty good and resource-saving at first, but:
The application of materials and textures is vital for achieving realistic and visually appealing models. Materials define how a surface interacts with light, while textures add depth and detail to the model.
Here are some key aspects to consider when applying materials and textures to your 3D models:
By paying close attention to applying materials and textures, you can create more realistic and visually engaging 3D models that effectively showcase your product’s features and design intent.
Using advanced rendering methods and proper lighting can create beautiful visuals that highlight the qualities and appearance of your product. Here are some essential aspects to consider:
By focusing on lighting and rendering techniques, you can create visually compelling and realistic presentations of your product, effectively showcasing your design skills and capturing the attention of clients or consumers.
As you work through the various stages of design, modeling, texturing, and rendering, it is important to keep all stakeholders informed and engaged. Start by establishing clear project goals and expectations, ensuring everyone understands the objectives and desired outcomes.
Regularly sharing progress updates, such as work-in-progress renders or 3D model previews, helps maintain transparency and fosters a collaborative environment. This approach also allows for valuable feedback from clients and team members, enabling you to make necessary adjustments and refinements throughout the design process.
Now we come to the procedure for modeling in relation to products.
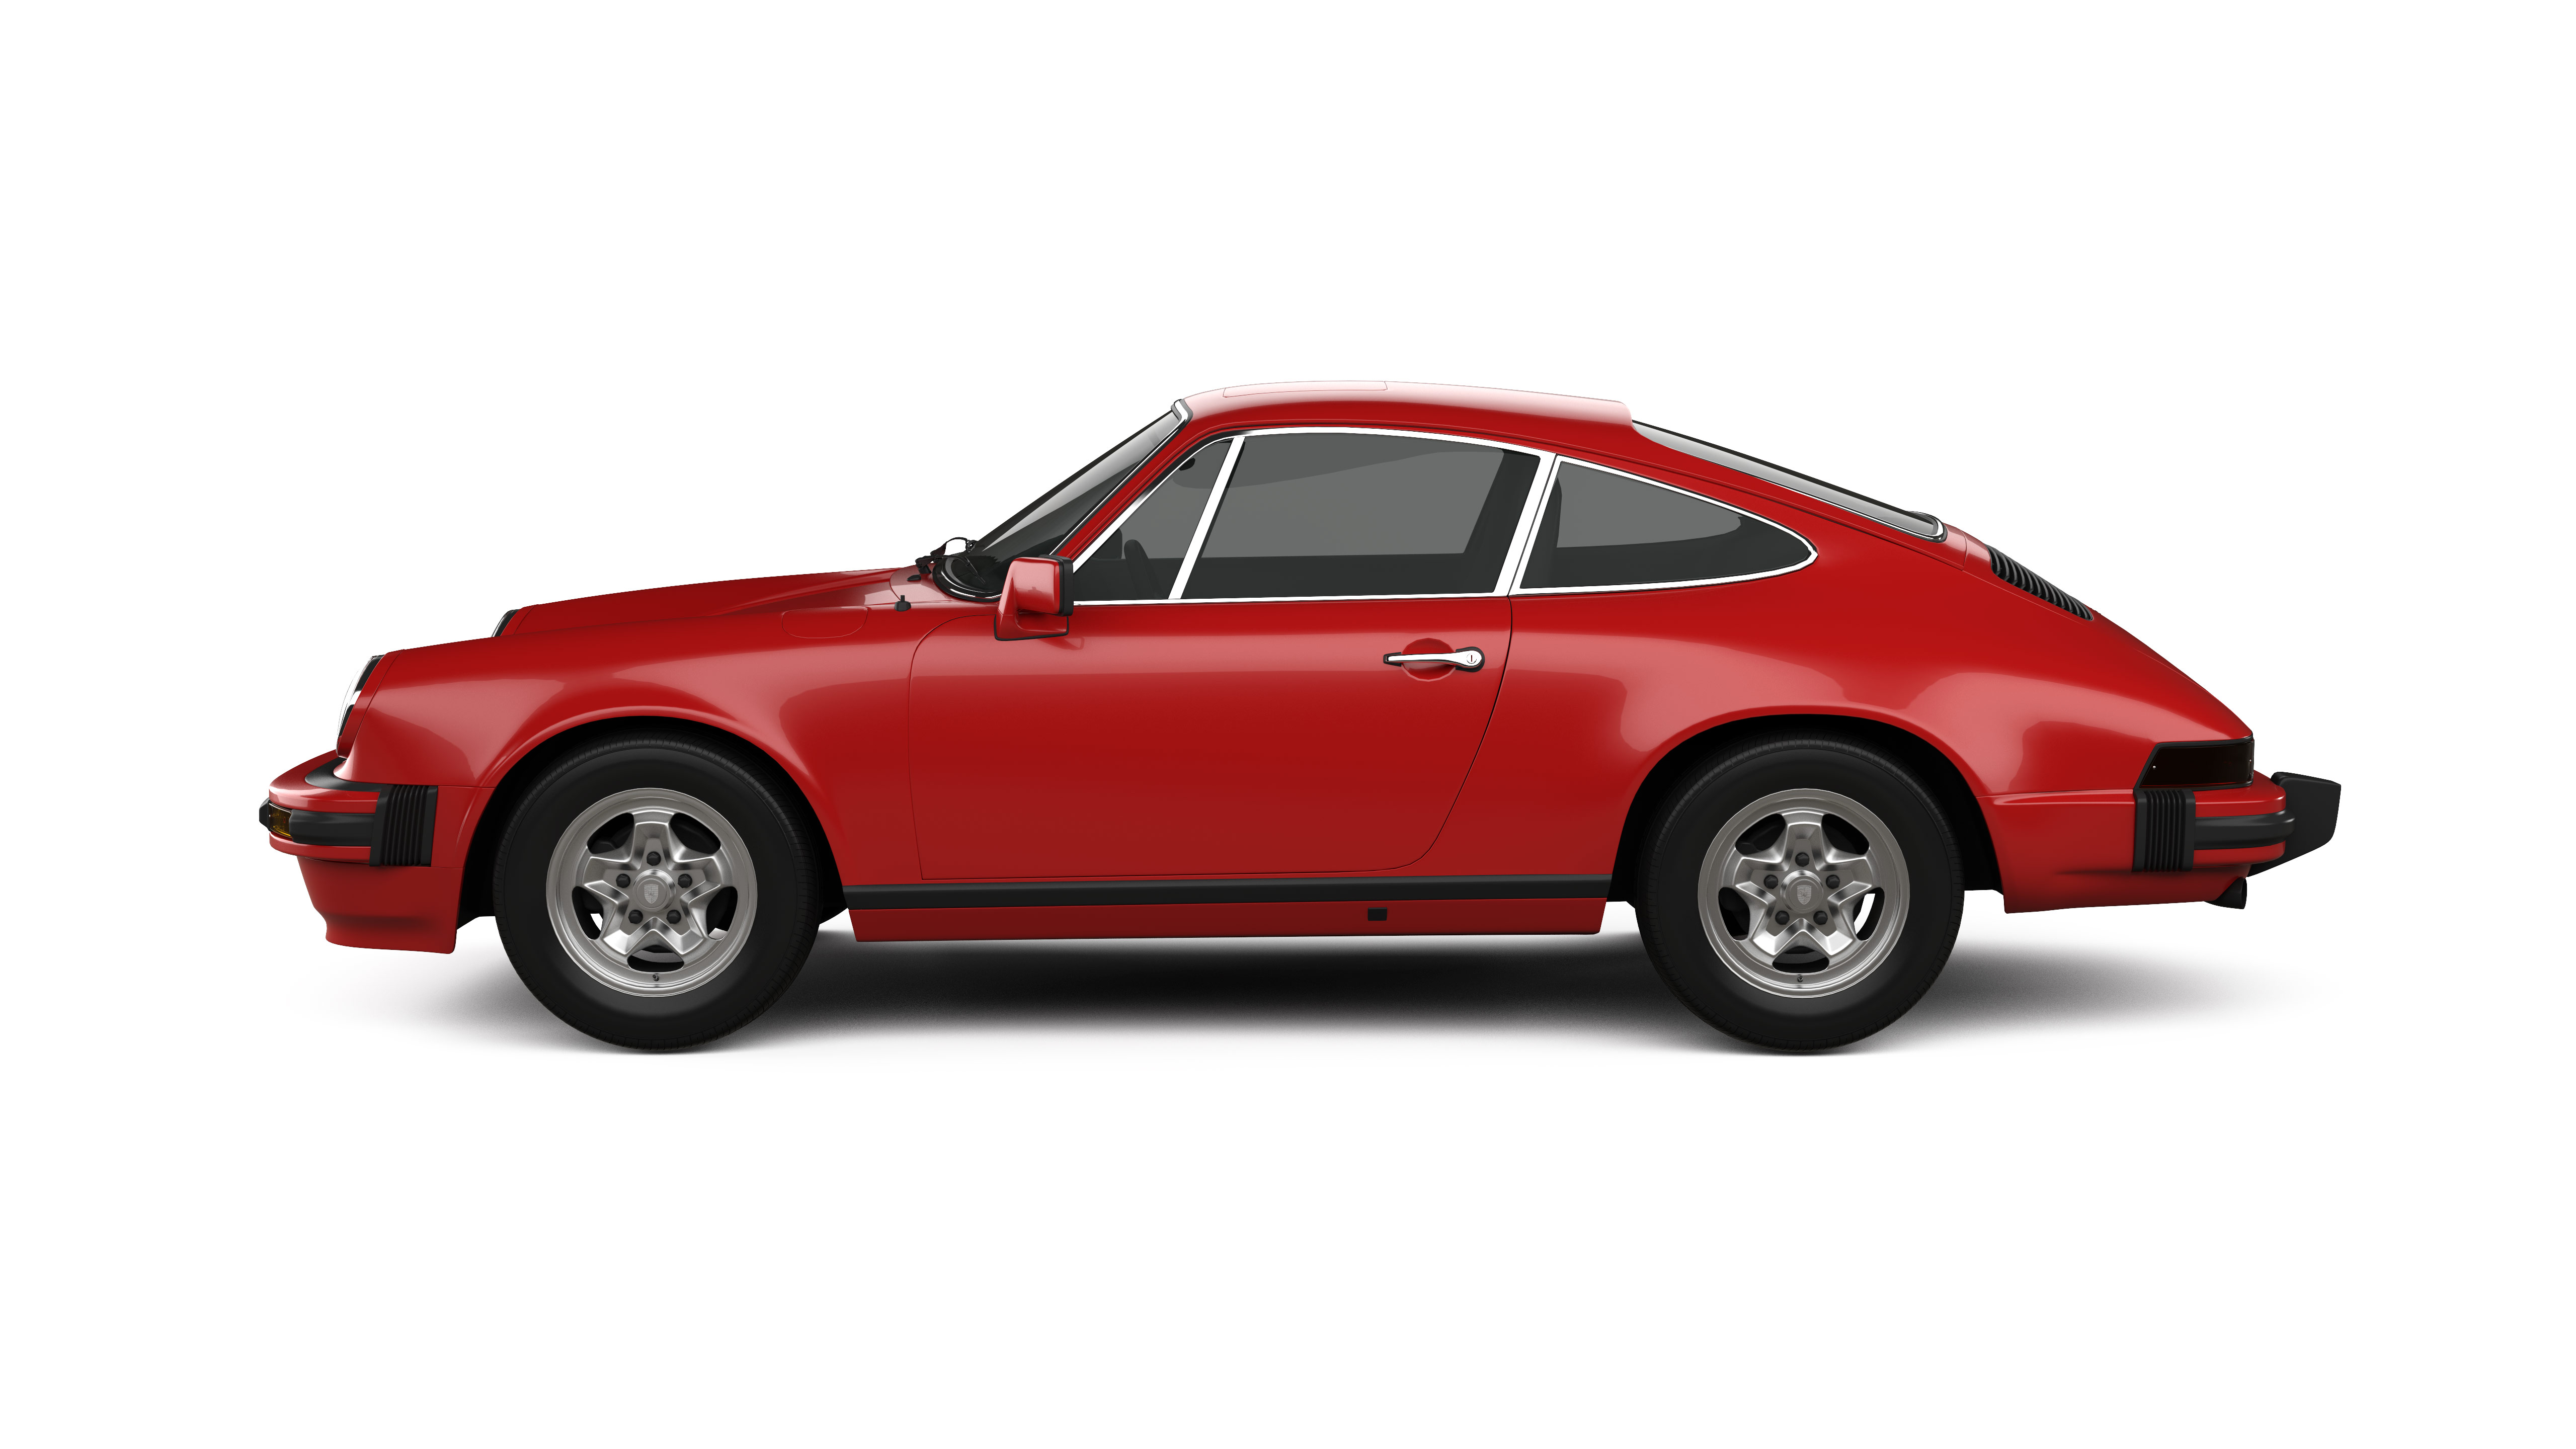
First of all, the first rule when modeling something that the recipient has a reference to in his head is to keep the right dimensions.
By this I mean that you have to stay very precise with the dimensions and sizes that are common for the product or comparable objects.
This is not only important for product design but also for creating realistic scenes in general.
This applies, for example, to doors, chairs, cups, tables, cars, smartphones, cupboards, living rooms and things that you often see and feel for their volume.
The best thing to do is to measure a door, for example, in reality, and then build it according to this scale. It doesn’t have to be accurate to the millimeter, but you shouldn’t unintentionally break such conventions because that reduces the credibility of the 3D object.
You often overestimate yourself with such estimates; you think you already know the approximate dimensions, but you often notice on the model that no measurements have been taken.
Try it out, how high is the seat of a chair? Or how wide is it approximately? One should not encourage confusion or misconceptions in the recipient but include expectations.
If you model a spaceship or something similarly abstract, then, of course, it doesn’t count in this strictness. Who knows how big a spaceship or the windows inside it are?
So in summary, the more mundane and realistic the object, the more work I would put into capturing it.
The technical approach to modeling itself varies from object to object, of course, but I would say in most cases, it is a good approach to start roughly, i.e., to map the volume relatively cubically first and then gradually work your way into the finer details.
Because once you have created small details in the topology, you have to invest more work to revise the rough structure again. For example, as long as you only use quad faces (i.e., polygons with four corners) for the rough modeling, you can easily create geometry at specific points in seconds with loop cuts and thus increase the geometry density bit by bit.
The modeling approach is, of course, also determined by the object itself.
For example, it makes a bigger difference whether the object’s shape is mainly cubic, cylindrical, or spherical; perhaps it also meanders along a curve, in which case you would have to choose a different approach.
Because the object’s shape basically determines the topology, if you want to work on the geometry in a pleasant, flexible, and non-destructive way possible.
As the field of 3D product design continues to evolve, it is essential for 3D artists to stay informed about emerging technologies and their potential applications. By leveraging these advancements, you can push the boundaries of what is possible in 3D modeling and create more innovative, functional, and visually stunning models. Here are some emerging technologies to consider:
By embracing these emerging technologies, 3D designers can stay ahead of the curve and continually push the limits of their work.
Mastering the art of 3D product design requires a combination of technical expertise, creativity, and adaptability. By staying informed about the latest techniques and technologies and fostering a collaborative and communicative work environment, designers can continually push the boundaries of what is possible in product design and stand out in today’s competitive landscape.


Add a comment