 汽车
汽车
 卡车
卡车
 公交车
公交车
 摩托车
摩托车
 军事
军事
 电子产品
电子产品
 枪支
枪支
 建筑物
建筑物
 飞机
飞机
 家具
家具
 角色
角色
 动物
动物
 航天器
航天器
 食品
食品
 船只
船只
更多
This tutorial show the making of “Hotrod Speedshop” from the start to the end. It covers the most important steps to create great renders and what it takes to get there. We start with doing some research, so we know what we are actually going to make. This is also one of the most important steps in the total process. We take a look at modeling and texturing. And in the end we import all the renders in Photoshop to do some post-production to create the final images that beats the rest of the competition. You will learn what it takes to create nice looking images, how to create the right composition.
But first, let me introduce myself.
 Hi, my name is Jochem Aarts. I worked several years as a 3D Artist in different studios where I made visuals and animations for Commercials, TV Series and Feature Films. A couple of years ago I opened my own studio: Realizm (www.realizm.nl) in The Netherlands. I work directly for clients or get hired to work on-site with other studios. The last few years I received some international awards for my work like the Master Award from Exposé for my “Abandoned Bel Air”, see InCG issue of March 2014.
I got my interest in CG in the mid 90’s when I did a Photoshop course. I did traditional drawing before that, but this digital painting gained my interest. But after seeing Jurrasic Parc I decided I wanted to do 3D stuff. It results in spending countless hours behind your screen, trying to create something new, and finding out how it’s done. I went to an Art Academy in The Netherlands and specialized in 3D Animation, but most of the knowledge had to be gained by yourself. After graduation I started to work as a 3D Generalist in a production studio.
My most used 3D software is Autodesk Maya. I use it since version 1.5 when it came to the Windows platform. I have used some other packages, but for me Maya was the most versatile and robust. It’s great for creating (character) animations, and supports all great renderers. Second piece of 3D software I use a lot is Mudbox. I use it for sculpting and texturing. It switches nice with Maya, so for me this is an ideal workflow. But in the end it are just tools. The software doesn’t create stunning images, but the artist does.
My advice for young/upcoming artists who want to break into the industry is: practice, practice practice, and learn to watch. Learn to see how things are made, how things move and how it interacts. If you don’t spend countless hours mastering knowledge, you’re always behind. There are hundreds of artists much, much better then you. So look what the made, how they did it and try to learn from them, try to become better than them. Please, visit my website for more works.
Title: Hotrod Speedshop
Software used: Maya, Mudbox, IvyGen, Photoshop
Year: 2014
Introduction: This is my submission for the “3D Vehicle Render Challenge” from Humster3D and 3D Artist Magazine. It shows a customized Ford Deuce in front of a vintage speedshop in the mid 60’s. It’s one of the contest prizewinners.
So…
Since this is a competition, I would like to see what the competition is making. So I definitely would not submit as one of the first contestants. The timespan was 2 months, so I waited for the first month to see what other people where submitting. I saw that most contestants took a (pre-made) Ferraris, Lamborghinis or other futuristic looking cars and they were all placed on a photo background. So the first thin NOT to do is use a photo background with a $300.000,- car in front of it. Stand out of the crowd, that’s always important. If everybody is using a new car, I will create an old one. If the all use a photo background, I’ll create my own. Easier said than done, but that makes my chance of winning bigger. So I decided to create one of the most iconic hotrods, the Ford Deuce ’34, but a customized one of course.
So, first thing to do is finding reference images of this car. I never start modeling right away. Cars have their form for a reason. It needs to be functional, but nothing is placed somewhere because I thing it looks nice over there. To create a believable hotrod we have to find reference images.
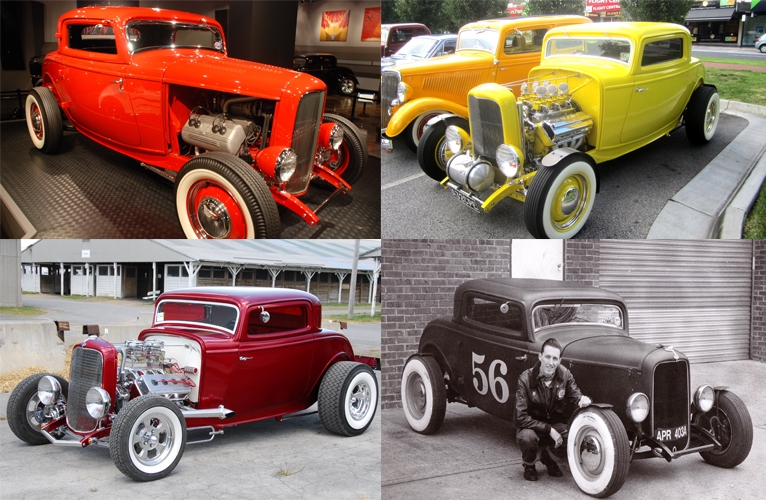
I like to see the engine and the gas tank on the front. So I took some elements of the reference images to create my own version of this icon.
Second thing is to find some reference images for the speedshop. I want to create a vintage looking gasstation/speedshop so I have to search for some typical elements that were used in that era.
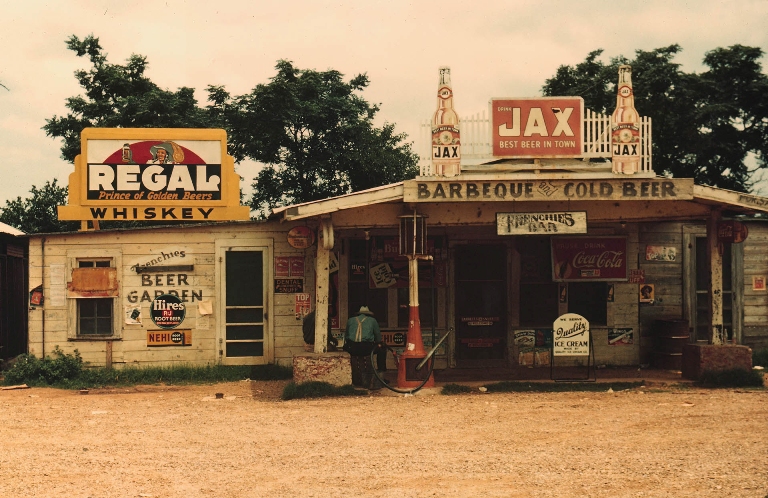
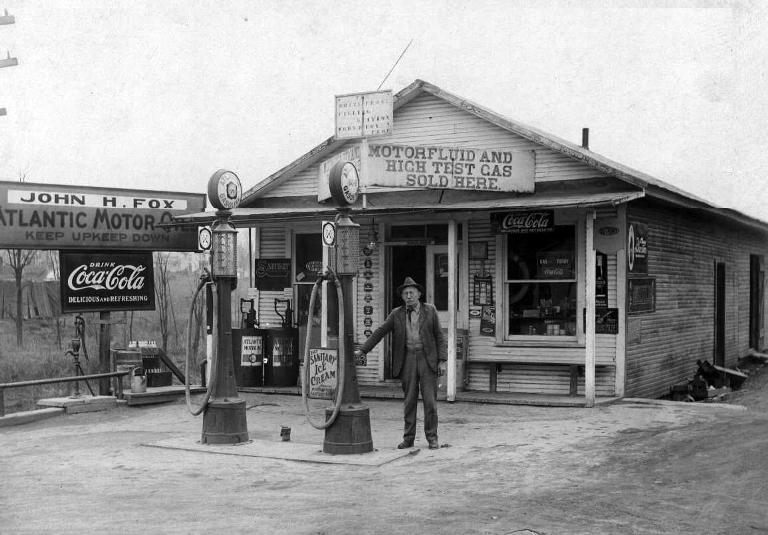
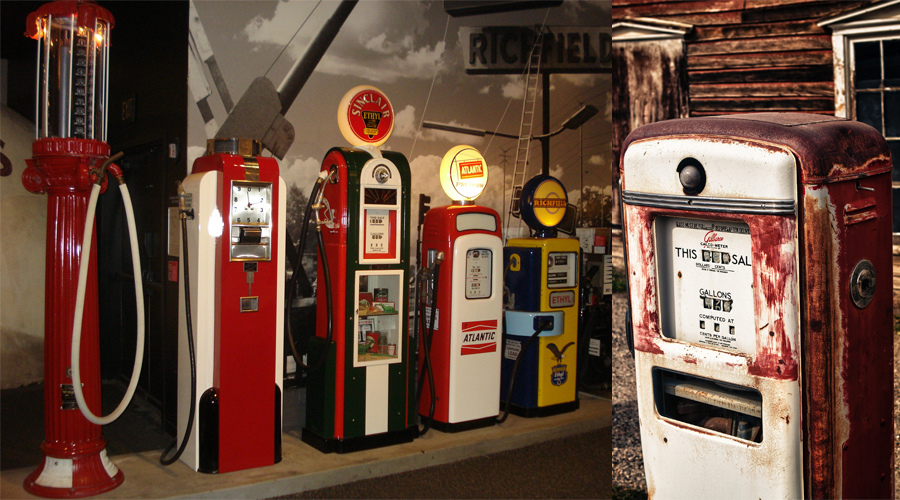
In the 60;s they had characteristic gaspumps. I really wanted to put in one or two. So I searched for some extra reference of old gaspumps.
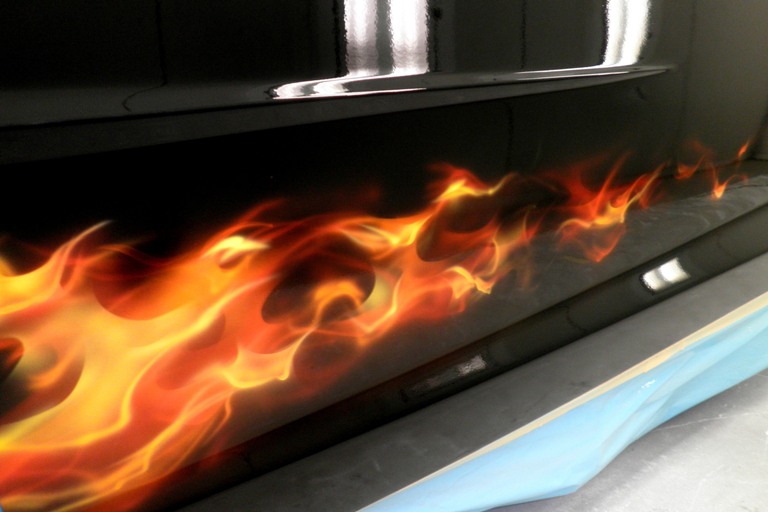
The last thing I wanted to have was flames on the side on the car. I did not use those classic flames, but I used “True Fire”. It looks a little bit more aggressive, and it fits the car.
I started with modeling the bodywork. I used the reference image as a background, so I had my proportions right. It’s important to use a clean edge flow. This might come in handy when uv-mapping the car, and it gives a better result when smoothing the mesh.
After the body I started with the wheels. The front and back wheels have the same rims, only the back tires are a little wider.
Piece by piece I build all the details like the engine, headlights and gas tank. Every piece that is ready I gave a basic color, so I knew what part of the car was done, and what part needed some work.
When the complete car was build, I did a simple planar mapping on the side of the car and started to create the texturemap for the side of the car.
The texture was made in Photoshop. Just with some simple brushes I created several base layers and on top some extra layers with blending mode “Add” so you get those nice highlights. This texture was the base color for the carpaint shader.
When the hero car was done I build another one but this time it was a low poly model. This car would be in the garage in the back. It will be blurred out so I didn’t need as much detail as the car on the front. I did not want to use the same car, because that doesn’t look right, and if everybody is making one car, I’ll make two. I did use the same wheels.
The speedshop itself is as simple as I gets. It’s just a box with a hole in it which is the door. It will be blurred out in the depth of field, so I didn’t spend to much time on it. The gas pump was more important, because it will be direct placed behind the car. I used my reference images to model the mesh.
I used photos of old signs to decorate the speedshop.
When the mesh was done I used Mudbox to texture it.
Pay attention to details when texturing. Scratches’ and worn paint will add realism to the image.
In Mudbox I keep everything on separate layers, so changes can be made easily.
+
A gas station is nothing with empty old oil drums. It’s just a simple cylinder with two extra ridges in the middle. In Mudbox I painted a base color with on top layers of old oil, scratches and rust.
To have some variation in the scene a made three different textures of the oildrum.
I used IvyGenerator to generate some vegetation growing onto the garage with a custom shader for the leaves that have some translucence like real vegetation had.
It is a two-sided material. There is a different texture on the front and on the back. The lighter texture goes in the translucence channel set to 0.25 with a multiply/divide node on it set on 4. 0.250 x 4 = 1. So light can pass through, but it’s not transparent.
The other vegetation was made with Maya PaintFX. I converted it to polygons and attached the same shader as the ivy.
All assets are build, now it’s time to put it all together to a nice looking composition.
I always try to use the rule of thirds, but with this composition it’s not working. Si I used the old trick, just make a screengrab and flip it. And rotating the car was the right thing to do.
I played around with some extra foilage, but that was not really working. It grabs to much attention. The rule of thirds is working much better in this composition. The front of the car is on 2/3 from left to right, and also from top to bottom. But now there is little room on the top and bottom of the image. It needs moor room.
The foilage on the left is set to a minimum, and there is more room around the car. The background is better visible this way. The only thing to do is add some details.
I placed some stones and grass patches to break up the straigh lines. This way you can add life to images.
I used the standard MentalRay Physical Sun and Sky system. The sunlight is the only light used in the scene. I did use a textrue in the environment slot, this is used for some reflection in the carpaint and chrome, but not for lighting.
If you use MIA_Material_X_Passes shaders you can render different passes easely in Mental Ray. For easy postproduction I renderd several passes to have maximum control on shadows, specular and reflections.
(They are also available separate in the CREATION folder)
In Photoshop a stacked all the renderlayers. I added a different sky and some trees in the background to create a little more depth and to fill up the big blue sky.
On the color layer I did some basic color correction with Curves, Levels and added a blue photo-filter to give it a more outdoor look. I tweaked the Specular, Refraction and Reflection layers to make the highlights pop-out a little more. The Ambien Occlusion layer was added to create some extra dark shadows. I did a blue photo-filter on the AO layer, to create a more realistic shadow color.
Then I added some dirt on the wheels, because the car stands on sand, so there must be sand on the tires. After applying the Zdepth with the LensBlur I dit a little Chromatic Aberration, Vignetting and a small LensDistort with Photolooks to finish it up.
Add a comment